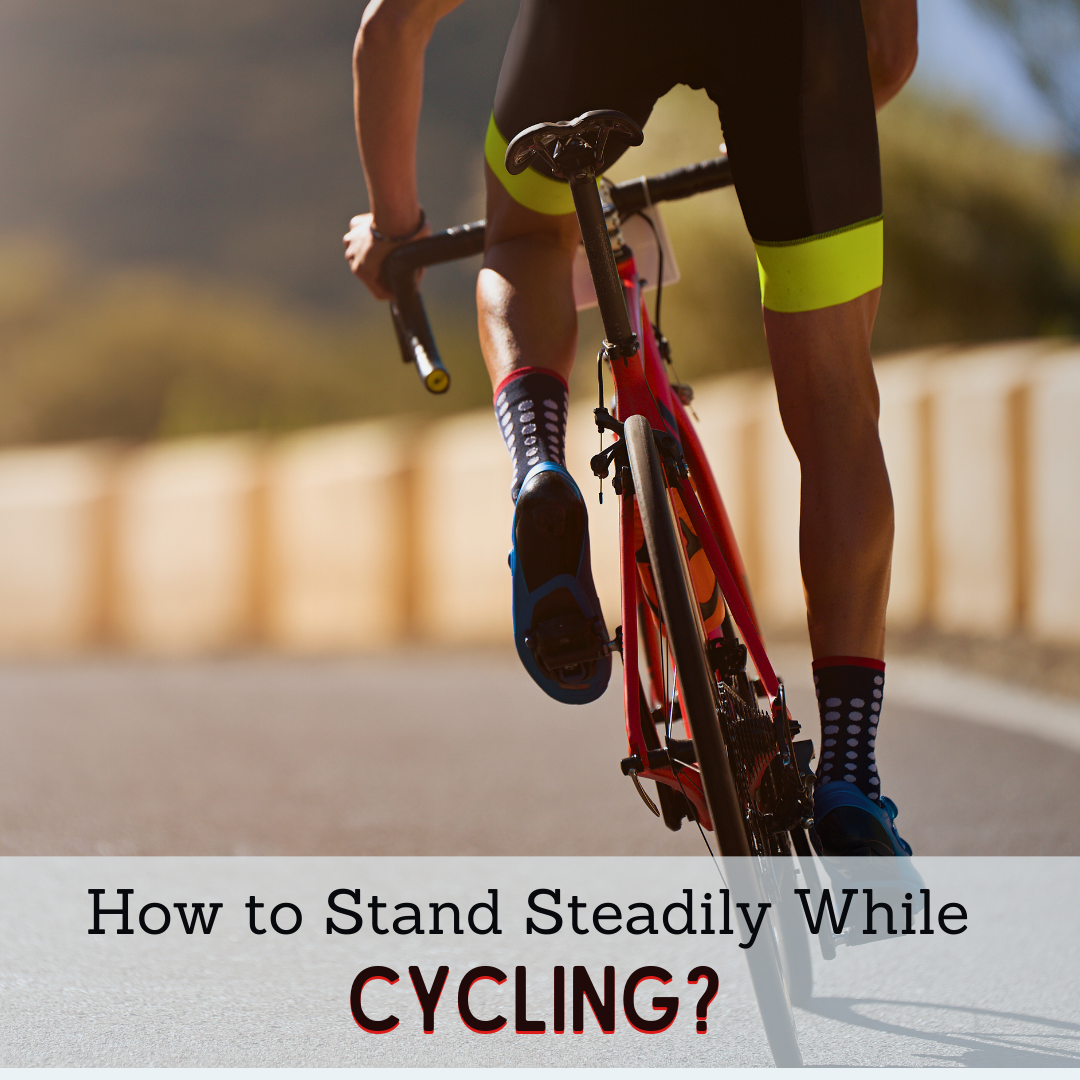
Standing while cycling is a technique where you lift your body off the saddle while keeping your feet on the pedals. Doing so allows you to engage more muscles, particularly your core and leg muscles, to pedal with greater force. It can be advantageous in various situations, like climbing hills, accelerating quickly, or navigating rough terrain.
This blog post will include a step-by-step guide, proper body positions, three advanced tips, and why you should stand while cycling.
Let’s dive right in.
Step-by-Step Guide To Stand Steadily on A Road Bike:
Proper Body Position for Steady Cycling While Standing
3 Advanced Tips to Stand Steady While Cycling:
Why Should You Stand While Cycling?
Step-by-Step Guide To Stand Steadily on A Road Bike:
1. Find a flat surface:
Before standing, look for a level road segment with no significant inclines or declines. It will make standing steadily easier without the added challenge of uneven terrain.
Ensuring that the road is flat and free from obstacles is essential because, when you stand up on a bike, your center of gravity shifts, and having a flat surface helps you maintain balance.
2. Keep a light grip on the handlebars:
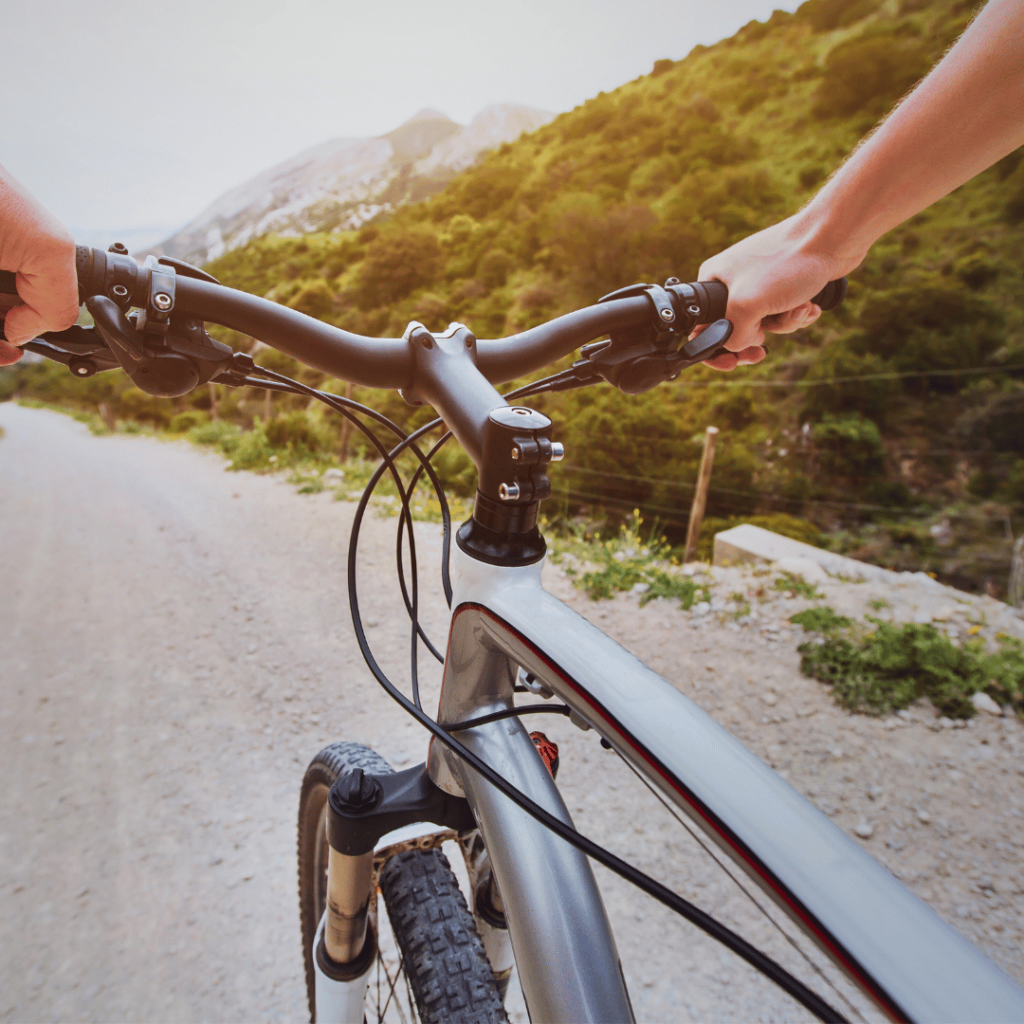
Avoid gripping the handlebars too tightly, allowing for smooth steering and control of your bike when you stand up. Gripping the handlebars too tightly can make your movements rigid and hinder your ability to steer smoothly.
You must loosen up and let your hands have a comfortable and flexible hold on the handlebars.
3. Shift to an appropriate gear:
Choosing the right gear ensures your pedaling remains smooth and you maintain a steady cadence, which is how fast you pedal.
For instance, when you’re standing while cycling on a steep uphill, shifting to a lower gear will make it easier to pedal without straining your muscles too much.
On the other hand, when descending while standing, a lower gear makes it harder to pedal efficiently due to the increased speed. That is why you must shift to a higher gear to generate more power with each pedal stroke.
A higher gear prevents your legs from spinning too fast and helps you generate more power and torque. It is because, in a higher gear, the ratio between the number of teeth on the front and rear gears is larger, which means the bike travels a greater distance with each pedal stroke, and you don’t have to pedal as hard.
While the specific gear numbers can vary depending on the bike’s setup, a general range for a higher gear could be using the big chainring at the front and one of the smaller cogs at the back, such as the 50/11 or 53/12.
4. Gradually rise from the saddle:
Begin by slightly lifting your weight and rising from the saddle while pedaling. You must lift your butt off the saddle just a little bit. By doing this, you’re not putting all your weight on the saddle, helping distribute your weight evenly between your feet and your hands for better steering.
5. Upper Body Relaxation:
Keep your upper body relaxed and avoid tensing your shoulders and arms, as a tense upper body leads to unnecessary strain and affects your standing balance. Instead, maintain a natural and relaxed posture by keeping your shoulders down and letting your arms slightly bend at the elbows.
6. Maintain a balanced position:
Position your feet parallel and shoulder-width apart on the pedals, distributing your weight evenly over the bike’s frame for a balanced foundation—a stable and evenly distributed support base while cycling, which reduces the risk of your bike wobbling or losing control.
As you lower your body, bend your knees slightly by about 20 to 30 degrees. This allows your legs to act as shock absorbers, helping you smoothly control the bike over uneven terrain.
7. Return to the saddle smoothly:
Finally, when you’re ready to sit back down, gradually lower yourself onto the saddle. Before sitting down, you must shift your weight slightly to the back of the bike while keeping a firm grip on the handlebars.
Then, slowly lower yourself onto the saddle while maintaining a balanced posture as you transition from standing to sitting.
Proper Body Position for Steady Cycling While Standing
By positioning your body correctly, you maintain stability while standing, preventing wobbling or loss of balance as it distributes your weight effectively across the bike’s frame.
Here is a handy summary of proper body positions for steady cycling while standing:
Hand Position for Standing Cycling

Proper hand position maintains a stable grip and gives you better standing steering and braking. While the angle of your hand position is subjective, it is recommended that your shoulders be around 90 degrees and your elbows be bent at a 15-degree angle.
Here are some tips to remember about proper hand positions:
- Your hands should be on the hood of the brake as it gives better control over steering and braking. It allows you to access the brake levers easily and provides a comfortable position for your wrists and arms.
- Grasp the handlebars firmly, but don’t tightly wrap all your fingers around the brake hood or squeeze too hard to prevent hand numbness and ensure proper blood flow to your hands.
- When going uphill or picking up speed, placing two fingers over the brake levers allows you to brake quickly if necessary. This position gives you immediate access to the brakes so you can react swiftly during braking situations.
- Having your hands in the drops is recommended for better maneuverability and a lower, more aerodynamic position when going downhill.
- Wearing good-quality cycling gloves with padded palms reduces pressure points on your hands and enhances grip while riding. The padding in the gloves acts as a cushion, absorbing vibrations and shocks from the road.
Heel Position for Standing Cycling
Your heel position during standing should be downward to create optimal power through each pedal stroke. You must position your heels slightly lower than your toes by about 5-20 degrees, engaging your calf muscles and promoting a more efficient pedal stroke.
Here are a few tips to remember about heel positions:
- Keep your heels dipped slightly through the rotation of the pedals when you stand to foster a stronger pull-up and push-down force on the pedals. This technique allows you to engage more leg muscles, maximizing your power output and propelling you uphill faster and more efficiently.
- Balance body weight distribution while standing by keeping your feet parallel and centered on the pedals, with your weight evenly distributed between them. It prevents fatigue resistance by reducing unnecessary muscle tension during climbs.
- Maintain proper pressure between your feet and pedals by adopting a rhythmic biking pattern. Alternate actively pressing one foot down while passively pulling the other up and maintaining a steady cadence.
3 Advanced Tips to Stand Steady While Cycling:
1. Lightening Your Load

Reducing the weight you carry while riding on a bike puts less strain on your muscles as they don’t have to work as hard to support and move your body, improving maneuverability and speed.
Here’s a guideline that you should follow:
- Ditch unnecessary accessories
Streamline your bike before riding by leaving behind redundant items. Remove bulky bike racks, excess water bottles, heavy locks, and any other non-essential items that you may have attached to your bike. You’ll have a lighter and more agile bike, which is easier to control when standing up.
- Opt for a lightweight bike
Invest in a bike designed with lighter materials, such as carbon fiber or aluminum. Carbon fiber is known for its high strength-to-weight ratio, allowing for lighter and more aerodynamic frames. Aluminum is also lightweight and offers good strength and stiffness.
- Choose lightweight clothing and gear
Opt for cycling attire made from fabrics like Lycra, a stretchy fabric commonly used in cycling apparel. It gives freedom of movement while reducing any extra weight that could slow you down. It also allows better airflow and breathability, which contributes to easier pedaling while standing.
- Regular maintenance:
Servicing the bikes regularly helps them run smoother and feel lighter during rides. This also includes cleaning and lubricating the drivetrain, adjusting the brakes, and maintaining proper tire pressure, which reduces friction, optimizes braking, and improves rolling resistance.
As a result, the bike becomes more efficient, making it easier to pedal and maneuver, giving you the sensation of a lighter bike. Service your bike at least twice a year or every 500-700 miles, whichever comes first. More regular servicing may be necessary if you ride frequently or in harsh conditions.
2. Choosing the Right Gear Ratios Before Standing
Remember that when you stand up, you put more force on the pedals than when you’re seated cycling because all your body weight is directly transferred to the pedals, making it harder to pedal. So, having the right gear ratio while standing ensures you generate efficient power without straining your leg muscles, such as the quadriceps, hamstrings, and glutes.
Here are some valuable tips on selecting the right gear ratios while standing:
- Shift to a lower gear ratio to stabilize your cadence when climbing hills while standing to pedal with less effort. A gear ratio like 34-50 is a good starting point for tackling uphill climbs while standing.
- Shift to higher gear ratios on flat terrains or downhill sections to maintain a higher speed with less pedaling effort. With each pedal stroke, you’ll generate more speed when you shift to a higher gear ratio, such as 11/25, 11/28, or 11/30.
A higher gear also maintains a more efficient cadence on flat terrains as you cover more ground with less effort, helping you stand steadily.
3. Correct Bike Fitting:
Correct bike fitting increases comfort and allows efficient pedaling power, making handling feel easier and, thus, lighter while standing. A well-fitted bike considers factors such as saddle height, handlebar position, and reach, which all contribute to your overall balance and comfort while standing.
Here’s a handy summary of how to adjust your bike components:
Saddle Height:
The saddle height directly affects your leg extension and the position of your body on the bike when standing. If the saddle is too low, it limits your range of motion and makes it challenging to generate pedaling power. On the other hand, if the saddle is too high, you may struggle to maintain balance.
For an ideal saddle height, the first step is to measure your inseam— the distance from your crotch to the bottom of your leg. Once you have that measurement, calculate your ideal saddle height by multiplying your inseam measurement by 1.09 (109 percent), as recommended.
For example, if your inseam measurement is 80 cm, the recommended seat height would be 80 cm x 1.09 = 87.2 cm.
Now, to adjust your saddle height, start by sitting on your bike with one pedal at its lowest position (bottommost point of its rotation) and fully extend your leg with a slight bend in the knee.
Then, adjust the height by loosening the seat clamp bolt with an Allen Wrench. Insert the wrench into the bolt and turn it counterclockwise to loosen it. Once loose, adjust the seat height by raising or lowering the seatpost accordingly. Tighten the bolt securely once you find the ideal height suitable for you.
Handlebar Position:
The position of the handlebars hugely affects your upper body posture and balance while cycling.
And it is even more important while standing cycling because if the handlebars are too low or too far away, it can be challenging to maintain a stable and upright position. On the other hand, if the handlebars are too high, it can lead to discomfort and compromise your control over the bike.
Handlebar position depends on your preference and riding style, such as drop handlebars are commonly used in road cycling for a more aerodynamic position, while flat or riser handlebars are popular for better control and maneuverability.
To adjust the handlebar position, look for the bolts or screws on the stem of the handlebars, and loosen the stem bolts located on the front of the handlebar with a 5mm Allen key. Lower the handlebars if you want a more downright position, and raise them if you prefer a more upright position.
Then, after you have found your desired handlebar height, secure the bolts back and ensure the handlebars align with the front wheel by standing in front of the bike and ensuring it is on a level surface—centered and straight. Test the alignment by turning the handlebars from side to side to ensure they move freely without interference.
Stem Length and Cleat Position:
The stem length is the distance between the handlebars and the fork’s steerer tube. If the stem is too long, it may cause you to lean too far forward, making it challenging to maintain a stable position. Conversely, if the stem is too short, it may result in a cramped posture, affecting your steadiness.
You must loosen the bolts on the stem cap and the stem itself to adjust its length. Then, slide the stem up or down the steerer tube to your desired position. The ideal stem length is 90mm to 140mm. Ensure the stem is aligned with the front wheel and the bolts are tightened securely.
Remember that a shorter stem can provide a more upright and comfortable position, while a longer stem makes your riding position more aggressive.
For the cleat position, loosen the bolts on your cycling shoes that secure the cleats using an Allen key. Then, position the cleats on the shoe to align with the natural angle of your feet by placing your feet on the pedal.
Make minor adjustments to the cleat position, horizontally and vertically, until you find the most comfortable and efficient position for your feet, and then tighten the bolts back securely.
You can achieve comfort in the cleat position by finding a balance that minimizes strain on your feet, ankles, and knees. And you achieve efficiency by aligning the cleats to allow optimal power transfer from your legs to the pedals, helping you generate more power with each stroke.
Why Should You Stand While Cycling?

Standing while cycling gives you a significant advantage in acceleration. It provides the necessary power for sprinting and intense interval riding and maximizes your performance by allowing better distribution of weight and strength.
Here, we discuss the importance of standing in further detail:
Advantage in Acceleration
Standing on your bike while cycling increases
the power transfer to the bike. You engage your core muscles and use your body weight to push down on the pedals with more force—this increased force propels the bike forward, resulting in quick acceleration.
Standing while cycling also allows you to use your upper body, like arms, core, and shoulders, to help stabilize and control the bike while generating more power. Using these muscle groups, you can efficiently transfer power from your upper body to your lower body for a stronger pedal stroke.
Improved Interval Riding
Standing while cycling improves interval riding by engaging more muscle groups and using your body weight to achieve a higher intensity and maintain that throughout the intervals.
When standing, shifting your body weight onto the pedal puts more power behind each stroke, generating more power and speed, which is an asset in interval riding. It also helps activate your fast-twitch muscle fibers more effectively due to the force exerted by body weight on the pedals during acceleration.
Moreover, key muscles like quads, hamstrings, and hip flexors get put to work, generating power and propelling you forward on the bike.
Remember that interval riding and acceleration are interconnected because interval training often incorporates periods of accelerated efforts. During interval riding, you alternate between periods of high-intensity effort, such as sprinting or riding at a fast pace (acceleration), and periods of recovery or lower intensity.
Enhanced Hill Climbing
Standing while cycling offers a significant advantage in climbing hills by allowing you to use your body weight to generate more power. By shifting your weight forward and standing on the pedals, you can apply greater force to each stroke.
Standing while cycling also engages your core muscles, like your abdomen and back muscles, and activates additional leg muscles, helping you generate more power and maintain momentum. It shifts your center of gravity forward, which helps maintain balance, add momentum, and develop fatigue resistance.
It also allows cyclists to use their power and weight more effectively, utilizing both the quadriceps and hamstring muscles. This balanced engagement of muscles helps improve performance on steep ascents by providing the necessary strength and stability to power through challenging climbs.
Conclusion
In conclusion, mastering the art of standing steadily while cycling is no less than a game-changer. It fosters improved acceleration, powerful sprinting, and hill-climbing abilities.
Let’s turn these tips into regular practice to stay steady on your two-wheeler!
Frequently Asked Questions:
1. How can I prevent hand numbness while cycling?
You can prevent hand numbness during your ride by adjusting the bike’s handlebar, avoiding gripping the handlebars too tightly, and periodically taking breaks to stretch out your hands and release tension in your arm muscles. Also, use padded handlebar tape or gloves with gel padding.
2. What muscles should I focus on training for steady cycling?
Focus on training your quadriceps, hamstrings, glutes, core muscles, and calves. It’s vital to have a well-rounded strength training routine that targets these muscle groups to improve your overall cycling performance and endurance. Consult a fitness professional or coach to ensure you use proper form and technique during your workouts.
4. Can participating in annual cycling events help me stand steadily when climbing hills during sprints & interval riding?
Definitely! Participating in annual cycling events can improve your ability to stand steadily when climbing hills during sprints and interval riding. These events allow you to challenge yourself, build endurance, and develop the necessary strength in your legs and core muscles.
By consistently pushing your limits in these events, you’ll gradually enhance your balance, stability, and power output, making it easier to maintain a steady standing position.
5. Does reducing body fat help with steadiness in road cycling?
Absolutely! Reducing body fat can positively impact your steadiness in road cycling. When you have a lower body fat percentage, you’ll experience an improved power-to-weight ratio, which means you can generate more power while carrying less weight. It can make it easier to maintain a steady pace and climb hills more efficiently.
Additionally, having less body fat can enhance your overall agility and balance on the bike, allowing you to maneuver with greater control.

