

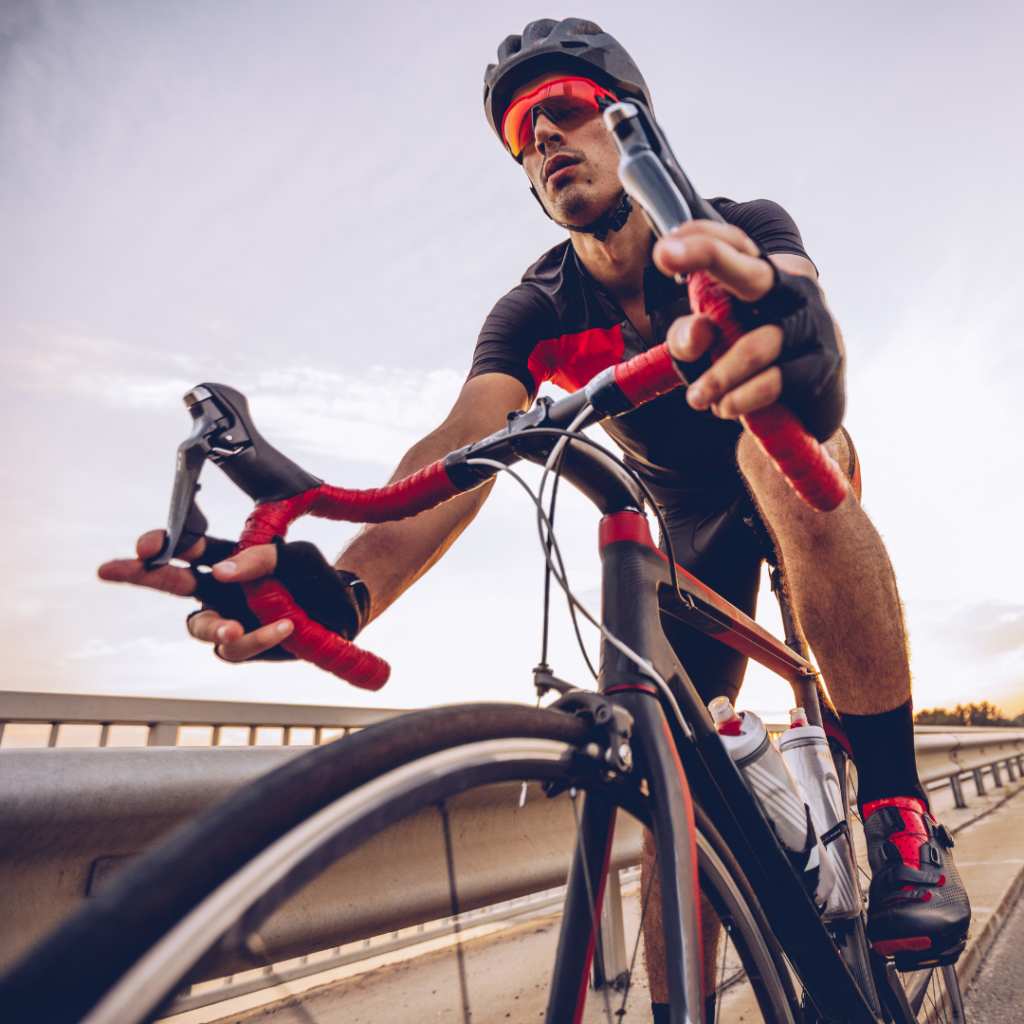
Many cyclists find it tricky to set the right pace, often starting too fast and hitting a wall later. It’s crucial to focus on finding a comfortable rhythm that is steady and sustainable.
In this article, I will discuss how to pace your ride, tried-and-tested strategies for different types of rides, nine tips for effective pacing, and share additional resources.
How To Pace Your Ride?
Different Pacing Strategies for Various Ride Durations
9 Tips for Effective Pacing
Additional Resources for Pacing
How To Pace Your Ride?
Starting at a higher pace, like a bat out of hell, may earn you a thrilling ride for the first few kilometers, but you will pay the price of early fatigue and burnout.
But then, setting a slower pace might make you feel at ease, but it also leaves you wondering how much faster you could’ve gone if you had just pushed a little harder. This is why effective pacing is essential.
Start riding slowly at first and only increase your speed when you can maintain the pace without compromising your endurance. Focus on your breathing and pedal stroke, aiming for a consistent cadence.
If you’re struggling to maintain your pace, it is a sign that you’re pushing too hard. And if you have a lot of energy left, you can push yourself more, increasing your effort level.
Cyclists must also understand their stamina limits, speed abilities, and nutrient consumption to build a well-rounded performance strategy. Use tools like cycling computers and heart rate monitors to gather valuable insights about your body’s response to different intensities and durations of exercise.
Tools such as personal power curves, which show graphical representations of an individual’s power output (in watts) generated by their legs at different durations, also show how effectively cyclists maintain steady speeds during long distances or perform during shorter stretches, providing insights into their strengths and weaknesses across various time frames.
This helps determine strategies like increasing speed, maintaining a consistent effort on flats, recovering and conserving energy during downhills, and maintaining a steady cadence during climbs by giving you a visual representation of your power output over time, which helps you adjust your effort to maintain a consistent cadence and avoid burning out.
Personal power curves also help identify peak power outputs. They are a graphical representation of power you can generate over time. The x-axis of the power curve represents time, while the y-axis represents power output. The curve shows the relationship between your power output and time, indicating the intensity of your effort at different points during the ride.
Cyclists have a varying peak power output during a sprint. For example, Some riders can generate incredibly high power numbers, with peak outputs exceeding 1000 watts. It’s a burst of energy that allows them to pedal with incredible force and speed. This high power output is a testament to their strength and sprinting capabilities.
On the other hand, there are cyclists whose peak power output during a sprint may be around 800 watts. While this may be slightly lower compared to the higher end of the spectrum, it’s still a significant amount of power.
Peak power outputs help you maintain a sustainable pace and prevent early fatigue by strategically varying your power output based on the terrain and your capabilities, helping you efficiently pace the ride.
For instance, you must increase your power output on uphill sections to conquer the climb but then ease off slightly on the descent to recover and conserve energy.
To make the most of your personal power curves, here are a few steps you can follow:

Record your rides:
Use a device like a cycling computer, power meter, or smartwatch that can track your power output.
Upload your data:
Transfer the recorded data from your device to compatible software or apps like TrainingPeaks, Strava, Garmin Connect, etc., supporting power curve analysis.
Analyze your power curve:
Once your data is uploaded, the software or app will generate your personal power curve graph.
Examine the curve to identify patterns, such as consistent peaks, which indicate high intensity or effort, and dips. If you notice consistent peaks, focus on interval training to improve your high-intensity efforts. And, if you see frequent dips, incorporate more rest and recovery into your routine.
Also, look for trends in the overall shape of the curve. Ascending curves signify an increase in performance or effort over time, while descending curves indicate a decrease in performance.
Regularly analyze these power curves to track your progress over time.
Identify strengths and weaknesses:
Pay attention to the areas where your power output is highest and lowest by reviewing the data or metrics provided by your training device or app. This helps you understand your strengths and weaknesses.
Look for the sections of your workout where your power output is at its peak, indicating moments of high intensity and effort. These could be during sprints, climbs, or other challenging segments.
Similarly, identify the sections where your power output is lowest, and plan recovery periods or lower-intensity workouts to let your body rest and recharge.
Set goals and adjust training:
Use the insights from your power curve, like your strengths and weaknesses in terms of sustained power, short bursts of energy, and overall endurance, to set specific goals for your training.
For example, suppose you notice a drop in power output during climbs. In that case, you can focus on improving your climbing ability through targeted training sessions like intervals, or hill repeats.
Different Pacing Strategies for Various Ride Durations
Whether preparing for a quick sprint or planning a long ride, having the right pacing strategy is crucial.
Here is a general guideline that you should follow:
Short Events (Up to 15 minutes): 51/49 Principle
For rides up to 15 minutes, employing the 51/49 principle helps optimize performance. In this strategy, you aim to expend 51% more effort during the first half of a time trial and then 49% of your effort in the second half.
For instance, let’s say you’re doing a 10-minute time trial. Aim to ride at 51% of your maximum effort for the first 5 minutes, then reduce your effort slightly to 49% for the remaining 5 minutes. This approach helps you start strong and conserve energy for the second half.
According to reports from coaches and studies, a common strategy for events lasting up to 15 minutes is to go at around 98% race pace during the first half and then increase it to about 102% race pace in the second half.
This means the first half takes up approximately 51% of the total elapsed time, while the second half takes up the remaining 49%. It’s a strategy that aims to optimize performance and find the right balance between effort and pacing.
Longer Rides: Even Pacing
Longer rides need consistent and even pacing to maintain energy levels and prevent fatigue. So, instead of starting too fast and burning out early, distribute your energy evenly throughout the ride.
A structured training plan when riding a lengthy cycling route such as 300 km is:
- 96% of the total average pace in the first half-hour.
- 98% of the total moderate pace in the second.
- The average pace in the third (the overall speed you maintain throughout your ride, calculated by dividing the total distance traveled by the total time taken)
- 102% of the total average pace in the fourth.
- 104% of the total average pace in the fifth.
Road or Track Time Trials: Consistent Pacing
Road or track time trials are individual races against the clock where cyclists aim to complete a specific distance in the fastest time possible. They are often held on a designated road course or a closed track.
Focus on pacing consistently and avoid intense fluctuations in speed by finding a comfortable and sustainable rhythm for your pedal stroke. For instance, throughout the race, you can maintain a consistent speed of around 25-28 miles per hour (40-45 kilometers per hour).
Century Bike Rides: Sustainable Pacing
Century bike rides are long-distance or personal challenges where cyclists aim to ride 100 miles in a single day. These rides require significant endurance and stamina, so cyclists must rightly pace themselves right from the start.
Set a sustainable pace of around 15- 20 miles per hour, allowing you to maintain a steady effort without exhausting yourself.
Another practical approach for maintaining a consistent effort throughout a century ride is building a power-based pacing plan, which uses a power meter to guide your effort during a ride or race. It lets you set specific power targets for different sections of your ride.
The power meter then tracks the Intensity Factor (IF), a metric commonly used in cycling to quantify the intensity or difficulty of a workout or race by measuring the force you apply to the pedals and calculates the average power over a specific period, such as for one second or one minute.
The power meter then divides your average power during the activity by your functional threshold power (FTP).
So, the IF value ranges from 0 to 1, with 1 representing an all-out effort equal to your FTP, and 0 would mean you didn’t generate any power during that particular period. If your IF is 0.75, you maintained an intensity level of about 75% of your FTP throughout the activity.
A recommended pacing strategy is keeping your Intensity Factor (IF) around 0.70 or 0.75, about 70-75% of your Functional Threshold Power (FTP), a moderate to high-intensity level.
To do this, maintain a steady power output that aligns with your target IF. If you are going too hard and exceeding your desired IF, ease off the pedals to lower the intensity. And if you’re not pushing hard enough and your IF is below the target, increase your effort to reach the desired intensity level.
Another tactful approach is joining a group ride where fellow cyclists maintain a reasonable tempo, simultaneously boosting morale among riders. A good tempo in a group ride could be around 18-20 miles per hour (29-32 kilometers per hour).
Ultra Endurance Cycling Rides: Strategic Pacing
Ultra-endurance cycling rides are long-distance cycling events or challenges that test the limits of a cyclist’s endurance.
They demand consistent effort sustained over extended periods like distances of 200 miles (320 kilometers) or more in a single day or span multiple days, often requiring riders to push through physical and mental exhaustion.
Creating your pacing plan before the ride equips you with a reliable framework. Start by setting a goal for yourself: distance, duration, or training. For example, set a goal to ride a distance of 50 kilometers or to complete a 100-kilometer ride within 4 hours.
During the ride, start with a moderate pace of around 60-70% of your FTP and 12-14 miles per hour, then gradually increase your effort as you go to conserve energy. Plan your route and adjust your speed according to the road condition, like increasing your speed and effort on uphill sections and easing up on the effort on downhill or flat sections.
Pay attention to your body’s signals, like fatigue, as wind conditions and changes in the gradient impact how your body feels during the ride and react accordingly, like changing your pace or taking breaks.
For example, riding against a strong headwind makes you work harder and leads to more fatigue, so slow down your pace and take short breaks to recharge. Similarly, climbing steep gradients also increases the effort required, so taking breaks in between is essential.
9 Tips for Effective Pacing

1. Know Your Route
Do some research beforehand to get to know your route. Look up Google Maps, use GPS apps, and explore the route virtually using tools like Google Street View to familiarize yourself with the route and better understand the terrain, elevation profile, and potential challenges like roadblocks or traffic.
To understand the terrain and elevation, look up the elevation profile on the internet, which shows the changes in elevation along a specific route. It gives you a visual representation of the uphill and downhill sections.
To tackle uphill sections, you must slow down to conserve energy as the incline increases resistance and requires more effort to maintain speed. Adjust your pace by avoiding sudden bursts of speed and pedaling at a steady rhythm, i.e., maintaining the pedaling rhythm of around 80-90 revolutions per minute (RPM). This is a commonly recommended cadence range for efficient and comfortable cycling.
For downhill sections, take advantage of gravity by allowing it to assist you in gaining speed. Lean forward slightly and allow gravity to pull you downhill. Adjust your pace by lightly applying both brakes and gradually releasing them as you navigate the descent.
You can also choose to coast during downhill sections, which is when the bike moves forward using its own momentum.
2. Consider Wind Conditions
Riding against the wind will require you to put in extra effort, so always try to ride with the wind at your back to conserve energy.
Check the weather forecast for details such as the wind speed and the direction indicated by the compass points such as north, south, east, or west. For example, if the forecast shows a north wind, the wind blows from the north towards the south.
Then, start your ride against the wind so that when you return, you’ll have the wind at your back at the end of the ride to benefit from the reduced wind resistance when you may be more tired.
Unpredictable gusts or crosswinds can also affect steering and push you off balance, so remain cautious when the wind changes direction.
Another pacing tactic is rotating the lead if you’re riding as part of a peloton. Take turns at the front of the group to bear the brunt of the wind resistance. By rotating positions, each cyclist can conserve energy by drafting behind others.
3. Deciding Between Solo or Group Rides
Cycling solo allows you to find your personal rhythm, making individual rides perfect for honing endurance skills.
You can experiment with different speeds and pacing techniques, like steady or higher pace, without external distractions from riding in a group, such as conversations with fellow cyclists, coordinating movements, etc.
You can also freely practice different cadences, such as a high cadence (90-100 RPM), where you pedal quickly with less force on the pedals, a moderate cadence (70-80 RPM), where you balance speed and power, and a low cadence (50-60 RPM), where you pedal slower but with more force on the pedals.
Alternatively, riding in a group promotes skills like descending, sprinting, and pace lining. You create a collaborative and supportive environment by observing and learning from other experienced riders, practicing maintaining speed in a group, and pushing yourself in sprints and descents.
Consider your preferences and goals for pacing when deciding between solo and group rides. Solo rides allow you to set your own pace and focus on your performance, while group rides provide camaraderie, pacing within a peloton, and the opportunity to learn from others.
4. Proper Nutrition and Staying Hydrated
Consume a balanced mix of carbohydrates, proteins, and fats before, during, and after your ride to provide sustained energy. Carry snacks or energy drinks to fuel yourself on longer rides.
Here is a general guide for proper fueling:
- Consume carbohydrates before your ride to provide your body with the necessary fuel and energy. Foods like bananas, oatmeal, or energy bars are good sources of carbohydrates. These carbohydrates take longer to break down during digestion, providing a slower and more sustained release of energy.
On the other hand, consume easily digestible carbohydrates such as energy gels, sports drinks, or fruit during longer rides to maintain energy levels. These contain simpler and more easily digestible carbohydrates, such as glucose or maltodextrin, which are rapidly absorbed by the body for immediate energy for longer rides.
- Include protein-rich foods in your post-ride meals or snacks to aid muscle recovery. Some examples are lean meats, Greek yogurt, or protein shakes.
- Don’t forget about healthy fats! Incorporate sources like avocados, nuts, or nut butter into your diet for sustained energy for long endurance rides.
Always steer clear of dehydration by drinking water regularly, especially in hot weather and intense rides.
One indicator of dehydration is sweat rate. Sweat rate varies amongst individuals due to genetics, fitness level, and weather conditions. Exercise intensity also determines how much an individual sweats.
Moreover, the sweat rate is also affected by acclimatization, which is how our bodies adapt to a new environment. We tend to sweat more in hot weather, allowing our bodies to better regulate temperature in hot conditions.
We also tend to sweat a lot in high-humidity weather. When exposed to high humidity, the air around us is already saturated with moisture, making it difficult for sweat to evaporate. As a result, we may be sweating more because the sweat doesn’t evaporate as quickly. So, even though we do sweat, it may not provide the same cooling effect as it would in drier conditions.
A general guideline that is considered normal is a sweat rate of 0.8 to 1.4 liters per hour. Consume sports drinks or foods rich in electrolytes to replenish electrolytes lost through sweat.
5. Use Cycling Computers and Heart Rate Monitors
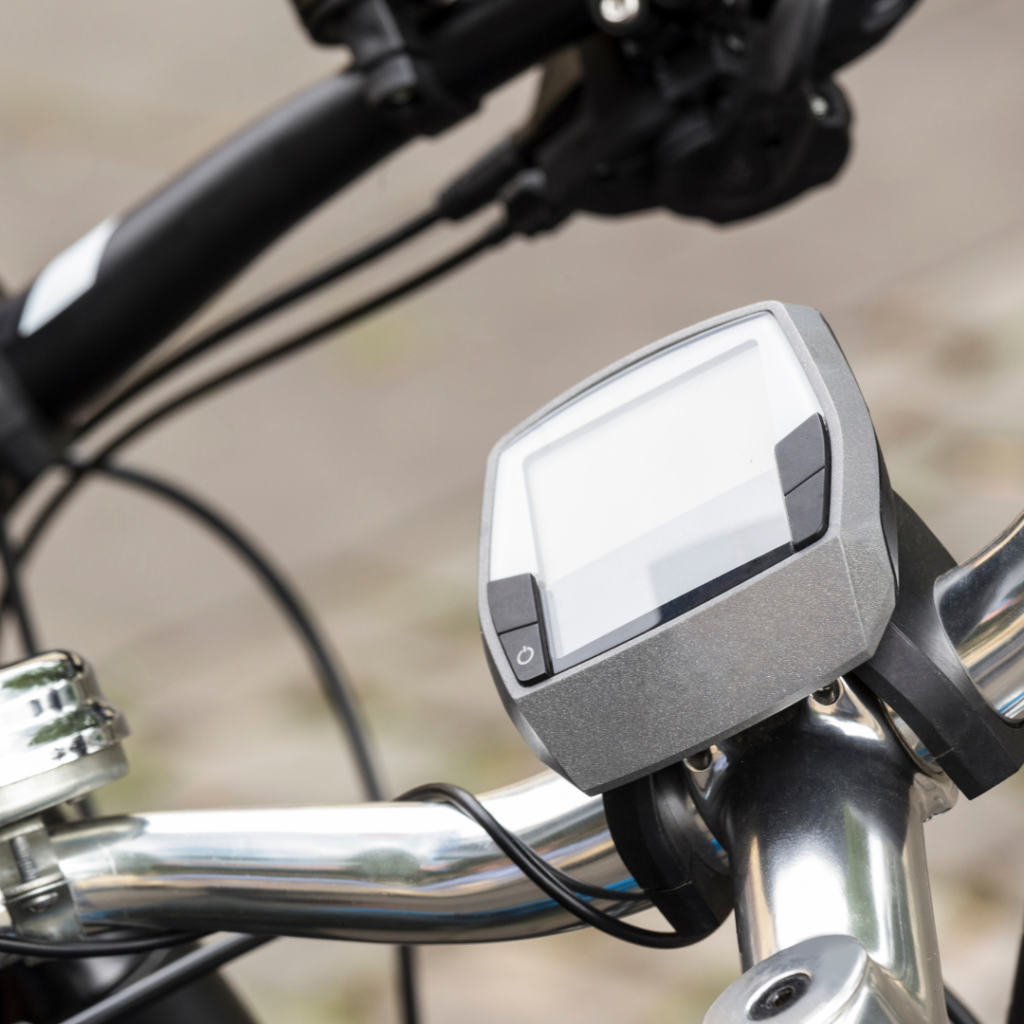
Power meters are a good example of cycling computers, which measure the amount of power you generate while cycling. This helps you adjust your pacing by avoiding starting too fast, burning out early, or increasing your pace when you’re not pushing hard enough.
Cycling computers provide valuable real-time data and insights on track metrics like speed, navigation features, distance, and cadence to monitor your performance and progress.
For instance, let’s say you’re doing a 50-kilometer ride and want to maintain an even pace. With a power meter, you can set a target average speed, like 25 kilometers per hour, and monitor the various metrics, such as power output in watts, cadence (pedaling speed), and heart rate displayed during your ride.
You can then use this real-time data on how much power you generate to set specific power targets or zones for different parts of your ride or race. For example, maintain a steady power output during a long endurance ride to conserve energy. During an interval or sprint session, push harder and hit higher power numbers.
On the other hand, heart rate monitors help you monitor your effort level by measuring your heart rate during the rides. When you exercise, your heart beats faster to supply oxygen-rich blood to your muscles. The heart rate monitor picks up and calculates these signals, which indicates your exertion level.
Here are a few examples:
- Low Exertion Level: A heart rate of around 40-50% of your maximum heart rate would fall into the low exertion level. For example, if your maximum heart rate is 180 beats per minute (bpm), a 90-108 bpm heart rate would indicate a low exertion level.
- Moderate Exertion Level: A heart rate of around 50-70% of your maximum heart rate would be considered a moderate exertion level. Using the same example, a heart rate of 108-126 bpm would fall into this range.
- High Exertion Level: A heart rate of around 70-85% or higher of your maximum heart rate would indicate a high exertion level. Continuing with the example, a heart rate of 126-153 bpm or higher would be considered a high exertion level.
Heart rates also ensure you stay within your desired training zones (Zone 1-5). Training zones are specific intensity ranges corresponding to physiological adaptations and training goals. They vary depending on whether you aim for endurance, speed, or recovery.
These zones are typically based on a percentage of your maximum heart rate or functional threshold power (FTP). Some common training zones are endurance, tempo, threshold, and sprint.
6. Construct Training Zones Through Heart Rates
By understanding your heart rates better, you can construct training zones that set the specific intensity of your rides. The training zone is a particular range of intensity or heart rate you aim to stay within during your workouts, typically determined by your maximum heart rate or lactate threshold.
To determine your maximum heart rate, subtract your age from 220. For example, if you’re 30, your estimated maximum heart rate would be 190 beats per minute (220 – 30). Then, divide it into different zones based on percentages to determine your target heart rate for varying levels of effort.
For instance, a moderate-intensity zone is around 60-70% of your maximum heart rate, while a high-intensity zone is around 80-90%.
Here’s a general guideline for the different zones:
- Zone 1 should be 50-60% of your maximum heart rate. It is the recovery zone, where you exercise at very low intensity. It’s great for active recovery.
- Zone 2 should be 60-70% of your maximum heart rate. It is where you exercise comfortably to improve your aerobic capacity and endurance by training your body to use oxygen efficiently.
- Zone 3 should be 70-80% of your maximum heart rate. This is the tempo zone, where you exercise at a moderate intensity to improve your lactate threshold and train your body to sustain a higher pace for longer periods.
- Zone 4 should be 80-90% of your maximum heart rate. This is the threshold zone, where you exercise at a challenging intensity to improve your anaerobic capacity and increase your tolerance to high-intensity efforts.
- Zone 5 should be 90-100% of your maximum heart rate. Your heart, blood flow, and respiratory system work at full capacity in this zone. This zone is characterized by very high-intensity exercise, where you’re pushing your limits and working at a near-maximum effort.
7. Maintain Temperature Regulation
Thermoregulation helps keep your body temperature in a safe range by using mechanisms like sweating. When you sweat, the moisture on your skin evaporates, taking away heat and cooling your body down. It is your body’s way of keeping the temperature at a safe and comfortable range.
When you exercise, your body generates heat, which triggers the thermoregulatory mechanisms to keep our body temperature in balance. Without thermoregulation, it leads to overheating and mental fatigue, like a decline in focus and concentration, affecting overall speed.
A safe body temperature range is typically considered to be between 97°F (36.1°C) and 99°F (37.2°C). However, individual body temperatures vary slightly and can fluctuate throughout the day as it’s influenced by physical activity and environmental conditions.
Manage your body temperature by taking breaks in shaded areas and wearing breathable clothing of light and stretchy fabric.
Look for polyester or nylon blends with mesh panels or ventilation zippers while purchasing cycling gear. These fabrics have moisture-wicking properties like quick drying that draw sweat away from your skin, allowing it to evaporate more quickly.
8. Neuromuscular Control
The neuromuscular control is the coordination between your nerves and muscles, allowing your brain to signal to your muscles when to move. An efficient neuromuscular system helps your muscles work effectively as the communication between your brain and muscles is optimized.
When your brain and muscles don’t work together smoothly, it can make your movements less efficient. This increases energy wastage and fatigue, causing your muscles to tire out more quickly.
To improve neuromuscular control, include exercises focusing on coordination, balance, and muscle activation, such as squats, lunges, deadlifts, step-ups, and calf raises.
9. Sleep and stress
Lack of sleep leads to fatigue, decreased concentration, and slower reaction times. When you’re well-rested, you have better focus, reaction time, and overall physical performance.
It’s generally recommended that adults aim for 7 to 9 hours of sleep per night to feel well-rested. However, the exact amount of sleep needed varies from person to person due to age, lifestyle, overall health, and individual sleep patterns.
Elevated stress levels, on the other hand, also consume energy reserves. When stressed, your body releases hormones like cortisol, increasing heart rate and muscle tension. This makes it harder to maintain a consistent pace due to higher perceived effort.
Manage stress through relaxation techniques like meditation, deep breathing exercises, guided imagery (imagining a peaceful place), calming music, and mindfulness, along with proper self-care like taking time for yourself, doing activities you enjoy, prioritizing rest, and eating well.
Additional Resources for Pacing
There are plenty of tools and advice to help you pace your ride more effectively. Here are a few:
Time trial pace calculators:
These online tools use your target distance, desired finish time, and current pacing data to generate a tailored cycling plan.
https://www.sportcalculators.com/cycling-speed-calculator
The calculator estimates the average speed or power that should be maintained throughout the time trial, which helps riders plan their pacing strategy and optimize performance.
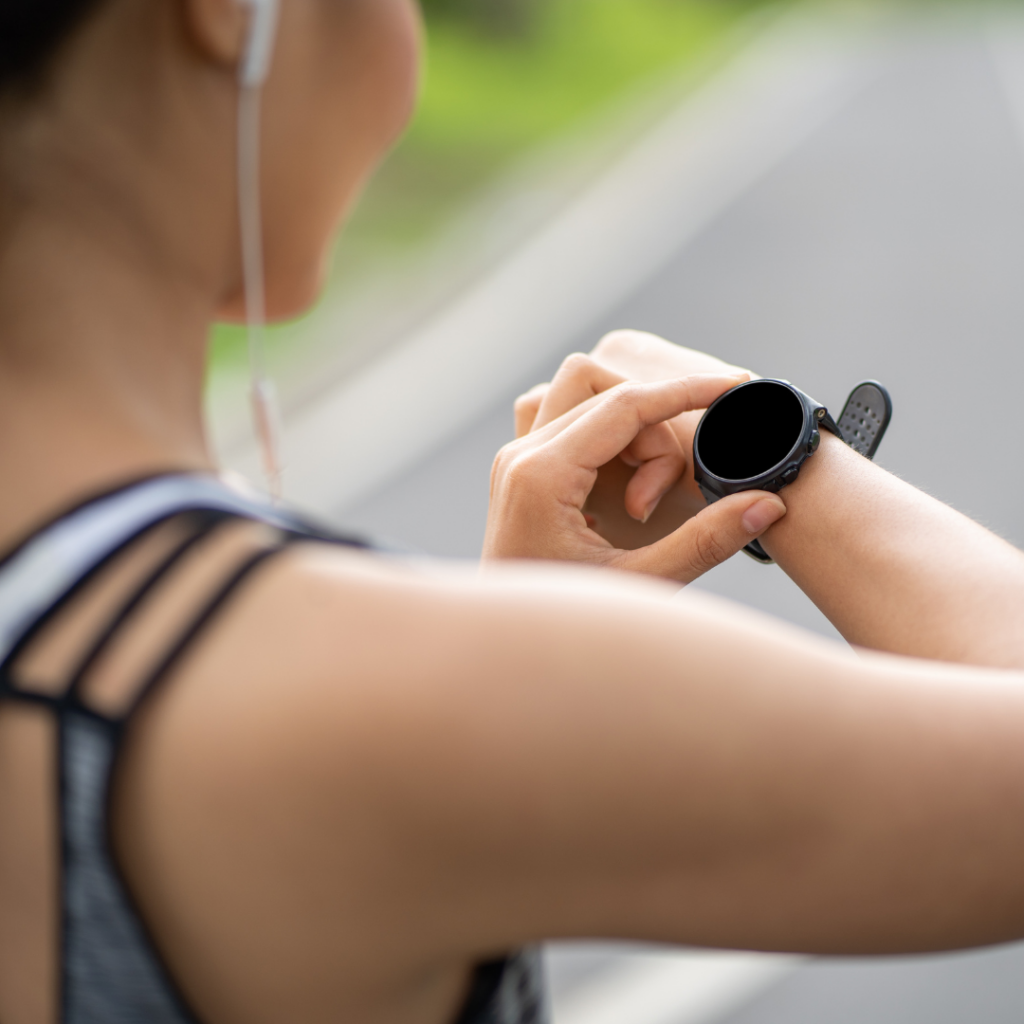
Activity trackers and sports watches:
These wearable devices help monitor and track various aspects of physical activity and fitness, like tabs on your steps, distance, calories burned, heart rate, and sleep patterns through features like step counting, distance tracking, heart rate monitoring, and sleep tracking.
Activity trackers are generally more focused on daily activity and overall health. At the same time, sports watches are designed for athletes and offer additional features like GPS, sports-specific tracking modes, and performance metrics.
Learning from other disciplines:
Applying strategies from disciplines like psychology for mental strategies, engineering for aerodynamics, and nutrition for eating right helps you gain fresh perspectives and innovative ideas to improve your overall riding experience.
Incorporate interval training like in running or triathlon, alternating between high-intensity efforts and recovery periods to improve your speed, endurance, and overall fitness on the bike.
Creating a custom pacing plan:
Determine your goal or desired finish time for the race. Then, consider the distance, terrain, and any specific race challenges. Based on these factors, break down the race into segments and assign each segment’s target paces or power outputs.
Conclusion
Effective riding pace drastically improves your cycling performance. Understanding the significance of pacing, considering various influencing factors, and implementing effective strategies shared in this blog post will help you surpass your personal records.
Ultimately, meticulous pacing forms a cornerstone of a rewarding cycling experience. Happy cycling!
Frequently Asked Questions:
1. Do I need to accelerate when rotating lead positions in a paceline?
You don’t necessarily need to accelerate when rotating lead positions in a paceline. Rotating the lead is to distribute the effort evenly among the riders and maintain a consistent pace. The rider taking the lead should maintain the speed of the previous leader, ensuring a smooth transition.
2. How does a paceline help with pacing?
Paceline helps with pacing by reducing wind resistance and sharing the effort among the riders as they rotate to switch lead positions. The lead rider creates a slipstream, making it easier for the riders behind to maintain a consistent speed. Taking turns at the front allows everyone to rest and recover, resulting in an efficient and effective pacing.
3. Why is effective pacing important in long rides?
Effective pacing is crucial in long rides as it prevents unnecessary fatigue and ensures sustainable energy, helping you finish the journey comfortably.
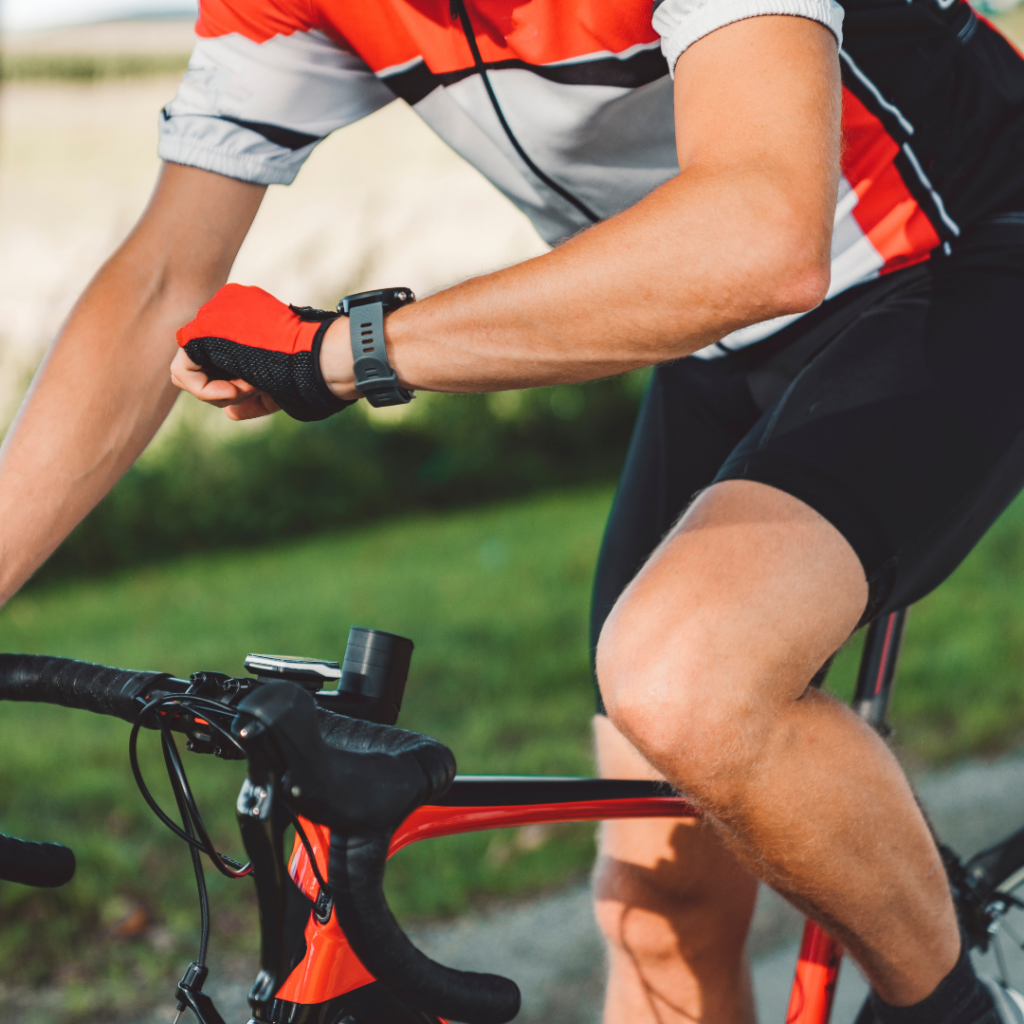
4. Can I use any special equipment for better pacing on my bike?
Yes, a simple cycle computer or advanced sports watch providing real-time speed data can significantly help improve pace control during your rides.
5. Are there specific techniques for pacing during time trials?
Starting strong is vital in time trials, but you don’t want to exhaust yourself too early. Pace yourself by gradually increasing your speed and intensity as the race progresses. Divide the race into segments and focus on each one at a time. Use your gears wisely to maintain a steady cadence, stay mentally focused, and practice frequently.