Are you tired of battling pain and fatigue on every ride? Are you stuck in a posture that feels more like a puzzle than a powerhouse? You’re not alone. But what if I say optimizing your body position could help smooth pedaling and effortless power?
This blog post promises to unlock the secrets of pain-free, efficient road bike riding through proper body positioning. You’ll learn how to adjust saddle height, the handlebar angles and engage your core for a powerful, comfortable ride.
1. Core Elements of Body Positioning
2. Finding the Right Fit
3. Professional Bike Fitting
4. Overall Bike Geometry
5. Perfecting the Bike Handling Skills
6. Listen to Your Body
7. Practice, Practice, Practice
8. Seek Guidance
1. Core Elements of Body Positioning
The core elements of body positioning on a road bike are fundamental to a comfortable and effective riding experience, involving posture, grip, pedal stroke, and balance. Here is a handy guideline for some of the core elements:
Posture
Posture is pivotal, requiring a delicate balance between relaxation and engagement. Maintaining a straight yet relaxed back is vital—rigidity can lead to discomfort, while excessive relaxation may compromise control. This posture allows flexibility, absorbing road vibrations and minimizing fatigue during longer rides.
You must also keep your core engaged to help distribute the weight evenly and reduce strain on your back and shoulders. Your shoulders must be relaxed, and avoid shrugging them towards your ears.
Hands-on the Bars
During riding, placing your hands on the brake hoods offers a balanced and comfortable position. It provides easy access to braking while maintaining control over the bike, facilitating quick responses to changes in traffic or terrain.
On the other hand, the drops are the lower, curved sections of the handlebars. This position is more aerodynamic and is commonly used for better control when riding at higher speeds or during descents.
Grip
The grip on the handlebars should be light, allowing for a natural and relaxed position of the hands, keeping elbows slightly bent, around 90 degrees, as a shock absorber, reduces strain on your arms and shoulders. This grip technique enhances comfort and promotes better handling and control of the bike.
Pedal Stroke
Your body positioning plays a role in how you execute your pedal stroke. You must ensure a stable and balanced position on the saddle, with your hips and pelvis level, to minimize unnecessary movements and eliminate dead spots in your pedal stroke.
You must focus on a particular cycle when pedaling, such as:
Push:
As you push the pedal downward with your leading foot, apply consistent pressure throughout the stroke. This engages your quadriceps and generates power throughout the pedal stroke.
Pull:
As your leading foot reaches the bottom of the pedal stroke, start pulling your trailing foot up. This engages your hamstrings and helps to complete the circular motion.
Lift:
As your trailing foot reaches the top of the pedal stroke, lift it slightly to reduce resistance and prepare for the next downward push.
Repeat:
As your trailing foot reaches the top of the pedal stroke, lift it slightly to reduce resistance and prepare for the next downward push.
Efficiency in pedal stroke is also crucial for power output and energy conservation. Focusing on a smooth and fluid pedal stroke lets you distribute your weight evenly across both pedals. Engaging your core muscles adds stability, ensuring a balanced and controlled movement throughout the pedaling motion.
2. Finding the Right Fit
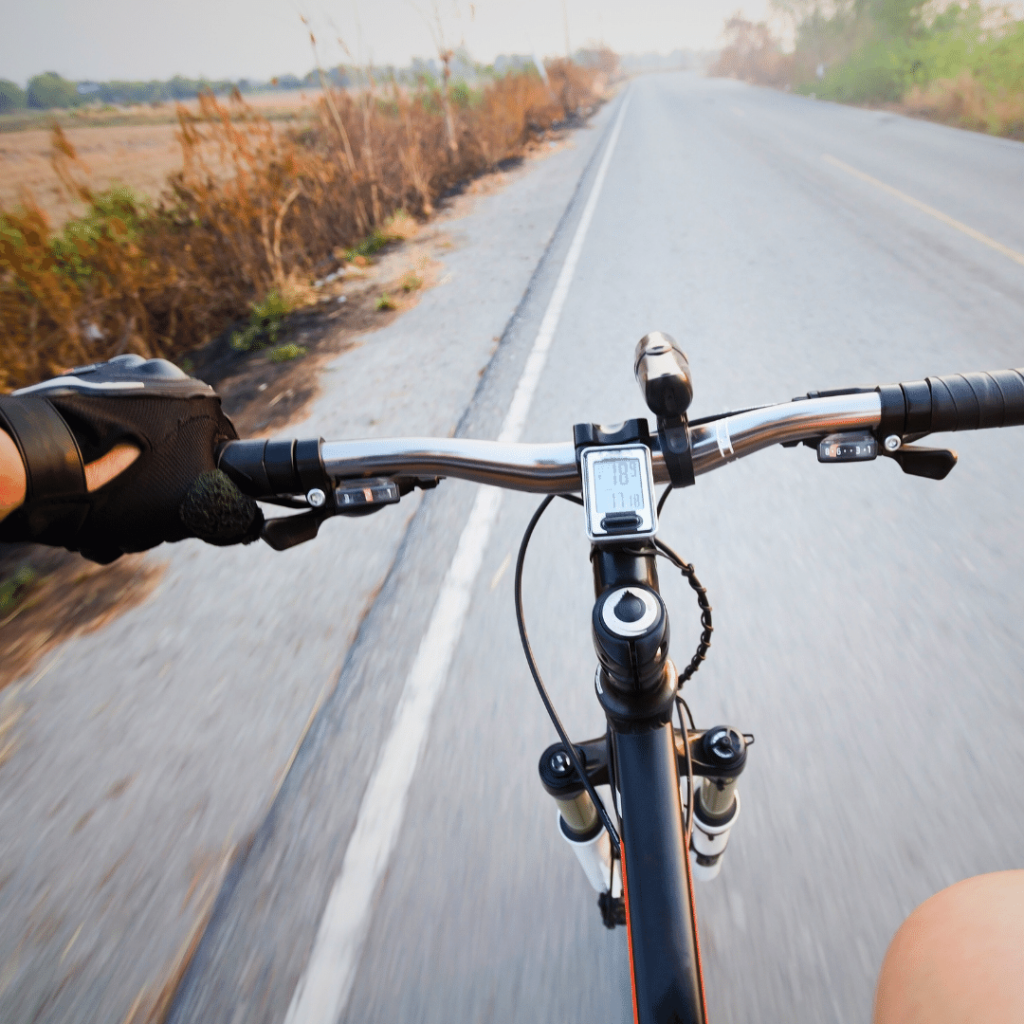
Before delving into the intricacies of body positioning, ensure your bike is properly fitted. Your saddle height, handlebar reach, and overall bike geometry are crucial in achieving an optimal riding position.
Here’s a breakdown of the key elements for the right bike fit:
Saddle Height:
Achieving the correct saddle height requires a precise measurement technique known as the heel-to-pedal method. Start by sitting comfortably on the saddle and place your heel on the pedal at its furthest point from the saddle to ensure a proper leg extension for measurement purposes.
When setting the correct saddle height, the goal is to achieve a leg extension that’s straight but not fully locked out, maintaining a slight bend in the knee. An ideal angle between the extended leg and the ground falls within approximately 25 to 35 degrees. This angle optimizes power transfer while pedaling and minimizes the risk of strain or injury due to overextension.
To ascertain the correct saddle height, measure the distance between the saddle’s top and the pedal axle’s center. There are two popular methods for determining saddle height using your inseam measurement, which are the following:
- The LeMond Method is multiplying your inseam in millimeters by 0.883. This value represents the distance between your saddle’s top and the bike’s bottom bracket.
- On the other hand, the Hamley Method requires multiplying your inseam measurement by 1.09. This resulting number signifies the distance between your saddle’s top and the pedal axle when it’s at the six o’clock position during pedaling.
This range provides a guideline to set the saddle height but fine-tune this measurement based on individual comfort and riding style. You can then use that measurement to determine your frame size—lower or raise the saddle accordingly. If you require to change the saddle height, most bikes have a quick-release or adjustable seat post clamp to lower or increase the saddle height.
For instance, loosen the clamp with a 5mm or 4mm Allen Key, adjust the height, and tighten it securely. It’s a good idea to make small adjustments and test-ride the bike to ensure the saddle height feels comfortable and allows for efficient pedaling without discomfort in the knees.
Handlebar Reach:
Handlebar reach, defined as the horizontal distance from the center of the handlebar top to the center of the furthest extension of the bend (where brake hoods are mounted), significantly influences your riding posture.
When fitting the handlebar reach, a reach of less than 80mm is categorized as short, 80-85mm is considered medium, and 85mm or more is seen as long. This measurement determines how far forward or backward the handlebars extend in relation to your seated position and affects comfort and efficiency.
Moreover, the curved bar section bend is the shape or curvature of the handlebar and leads to different sections with specific functions. Such as the drop, which measures the vertical distance from the center of the bar top to the deepest part of the bend, influences your grip and handling. 125mm or less drops are shallow, 125-128mm are medium, and more than that are considered deep.
Understanding these elements helps select the right handlebar width (commonly measured between the center of each drop) to suit your body proportions and riding style—handlebar width commonly comes in 38, 40, 42, and 44cm sizes.
Pedals and Cleats:
Properly fitted pedals and cleat alignment are crucial for optimizing your road bike setup, especially concerning comfort, efficiency, and power transfer. Here’s a breakdown of their significance and how they contribute to finding the right fit:
Pedals:
- Types of Pedals:
Road bikes commonly use clipless pedals that secure special cycling shoes using cleats, which are small metal or plastic attachments attached to the cycling shoes’ soles.
These shoes have a unique sole that is stiffer than regular shoes, which helps to transfer power more efficiently from your legs to the pedals. They are also flat pedals that don’t require special shoes.
- Choosing the Right Pedal:
Clipless pedals offer power transfer and efficiency advantages. However, selecting the right type depends on your riding style, preferences, and comfort. Some prefer the ease of use and versatility of flat pedals, while others prefer toe clip pedals with metal or plastic cages attached to the pedal.
Here are a few popular options for road-bike pedals:
- Shimano Ultegra PD-R8000: These pedals offer a great balance of performance and value, with a lightweight design and wide platform for efficient power transfer.
- Look Keo Blade Carbon: These pedals feature a carbon blade instead of a traditional spring mechanism, providing a secure and responsive connection between your shoe and the pedal.
- Speedplay Zero Stainless: Known for their low stack height and dual-sided entry, Speedplay pedals offer a wide range of adjustability and float, allowing for a personalized fit and comfortable ride.
- Adjusting Pedal Tension:
Clipless pedals usually have adjustable tension, allowing riders to customize the force required to clip in and out. This adjustment should suit your preference and skill level.
When the tension of the pedals increases, it requires more force to clip in and out. This can provide a secure, locked-in feeling, especially during intense riding or sprinting.
However, it may also make it slightly more challenging to clip out quickly, which can be a consideration for riders anticipating frequent stops or in situations that require them to react swiftly, like needing to stop suddenly to avoid an obstacle or unclipping from their pedals quickly to put the foot down for balance or safety reasons.
On the other hand, when the tension is set to a lower level, it requires less force to clip in and out. This can benefit riders who prefer easier engagement and disengagement, particularly when quick foot placement or emergency stops are necessary.
Cleat Alignment:
- Positioning Cleats:
Cleats attach to the soles of cycling shoes and directly affect how your foot connects to the pedal. Proper alignment is crucial for comfort and efficient power transfer.
To position the cleats, start by placing your cycling shoes on a flat surface and locate the three holes on the sole, which are meant for attaching the cleats. Then, determine the position of the cleats. Generally, a good starting point is to align the cleat’s center with the ball of your foot.
Next, attach the cleats to your shoes using the provided screws and align the holes on the cleats with the holes on your shoes. Lastly, tighten the screws securely, but be careful not to overtighten them, as it may damage the shoe’s sole or make adjustments difficult later on.
- Alignment Adjustments:
Aligning cleats means adjusting their position laterally, medially, or rotationally to suit your natural foot position and pedaling style.
Misaligned cleats can lead to discomfort, inefficient pedaling, and potential injury.
Lateral adjustment refers to moving the cleats towards the inside or outside of your shoe. This can help align your feet with your knees, reducing the risk of knee discomfort or injury.
Medial adjustment requires shifting the cleats closer to the center or further away. This adjustment can help with stability and balance while pedaling.
Rotation adjustment allows you to fine-tune the angle of your cleats. You can rotate them to align with the natural angle of your feet, ensuring a more comfortable and efficient pedaling motion.
3. Professional Bike Fitting
A professional bike fitting begins with a comprehensive assessment of your body proportions, considering factors such as inseam length, torso length, arm length, and flexibility. A proper bike fit will differ according to the individual—understanding your unique physique forms the foundation for creating a customized setup that maximizes comfort and performance.
Professionals evaluate your range of motion, identifying any limitations or areas that may impact your posture on the bike, as flexibility also plays a crucial role in determining your ideal riding position.
Now, let’s say you visit a bike fitting specialist for an evaluation. They may ask you to perform certain exercises like a squat or a lunge to evaluate the range of motion in your hips, knees, and ankles and your body measurements to assess your flexibility and joint mobility.
During these movements, the specialist will observe how your body moves and identify any restrictions or asymmetries that could affect your posture and comfort on the bike.
They may also measure the angles of your joints to ensure proper alignment and make adjustments accordingly. This assessment aids in setting up a position that minimizes strain and discomfort, especially during longer rides.
Professionals may also use advanced tools like motion capture systems or video analysis to fine-tune your bike’s setup. These technologies provide precise measurements and visual insights into your riding dynamics, allowing for detailed adjustments to optimize your posture and riding efficiency.
Based on the assessment and gathered data, professionals will recommend specific adjustments to key components like saddle height, handlebar reach, stem length, and other relevant bike parts. The goal of a professional bike fitting is to create a personalized setup that not only enhances comfort but also improves your overall performance on the bike.
Additionally, achieving optimal cleat alignment might require professional help, especially if you experience discomfort or have specific foot-related issues such as pronation or supination. Some individuals have a tendency for their feet to roll inward (pronation) or outward (supination) excessively during the pedal stroke. This can lead to discomfort, instability, or even pain—proper cleat alignment can help address these issues.
Regarding foot-related issues, certain individuals may also experience localized areas of discomfort or pressure on their feet while cycling. This can also be addressed with the help of a bike fitter who can assess your pedaling mechanics and make precise adjustments.
4. Overall Bike Geometry
The overall bike geometry encompasses several crucial aspects, including frame size, top tube length, and stem length, each impacting your posture and handling on the bike.
Frame size is pivotal and often determined based on height and inseam length. Different manufacturers may have slightly different sizing charts, so finding the right frame size ensures a bike that suits your body proportions, optimizing comfort and control.
Here’s a road bike size chart to refer to:
| Rider height | Frame size | ||
| Feet and inches | Centimeters | Effective top tube (cm) | Bike size |
| 4ft 10in-5ft | 148-152 | 47-48 | XXS |
| 5ft – 5ft 3in | 152-160 | 49-50 | XS |
| 5ft 3in – 5ft 6in | 160-168 | 51-53 | S |
| 5ft 6in – 5ft 9in | 168-175 | 54-55 | M |
| 5ft 9in – 6ft | 175-183 | 56-58 | L |
| 6ft – 6ft 3in | 183-191 | 58-60 | XL |
| 6ft 3in – 6ft 6in | 191-198 | 61-63 | XXL |
Now, when it comes to the top tube length, which runs horizontally between the seat post and the handlebar, is an important aspect of bike geometry because it directly affects your reach on the bike. This is why choosing a bike with a suitable top tube length lets you fine-tune your riding position, ensuring that your reach to the handlebars feels natural and comfortable.
A longer top tube length generally results in a more stretched-out and aerodynamic position, benefiting riders seeking speed and efficiency. On the other hand, a shorter top tube length typically provides a more upright and comfortable riding position, which riders may prefer for a more relaxed and leisurely riding experience.
On the other hand, stem length, the component connecting the handlebars to the fork’s steerer tube, is another adjustable factor in bike geometry.
Shorter stems bring the handlebars closer to you, facilitating a more upright riding position and reducing the reach. Conversely, longer stems extend the reach, potentially improving aerodynamics but necessitating a more stretched-out riding posture. Stem length for road bikes can be anywhere from 90mm to 140mm.
By understanding and adjusting these geometry elements, such as frame size, top tube length, and stem length, riders can personalize their bike setup to match their body proportions, riding style, and comfort preferences.
For example, if a rider has longer legs and a shorter torso, they might opt for a larger frame size with a shorter top tube length to maintain a more upright position.
5. Perfecting the Bike Handling Skills

Perfecting your position for bike handling skills on a road bike refers to adapting to various scenarios for better control, stability, and aerodynamics. Here’s a detailed look at different riding situations and the corresponding optimal positioning:
Climbing
- Weight Distribution:
When ascending uphill, shift your weight slightly forward to maintain traction on the rear wheel and prevent it from slipping. This position offers better leverage and control.
- Handlebar Position:
Placing your hands on the handlebars or in the drops while climbing provides a more ergonomic grip and leverage, allowing you to power through the climb efficiently.
- Seated Climbing:
This is the most common position for climbing. Stay seated on your saddle and maintain a steady cadence. Use a comfortable grip to relax your upper body and your hands on the handlebars. Seated climbing allows you to generate power through your legs while maintaining control.
- Standing Climbing:
Sometimes, you may need to stand up on your pedals during steeper or more challenging climbs to generate more power. Shift your weight farther forward on the bike by bending at the hips and dropping the chest toward the stem, grip the handlebars firmly, and rise out of the saddle. Use your body weight to push down on the pedals as you climb. Standing climbing can provide a burst of power, but it can also be more tiring, so use it strategically.
Descending
- Balanced Position:
Start by getting into a balanced position on your bike. Keep your weight centered and evenly distributed between your hands and feet. Bend your elbows and knees slightly to absorb any bumps or vibrations during the initial phase.
- Aerodynamic Posture:
Lower your body and bend your elbows more while descending. This posture reduces wind resistance, making you more aerodynamic and allowing for higher speeds with improved stability.
- Weight Shift:
Shifting your weight backward helps maintain control and stability at faster speeds while navigating descents.
Cornering
- Lean and Control:
Lean your bike into turns while keeping your body more upright. This technique lets you control the bike’s direction while navigating corners.
- Outside Foot Down:
As you approach a corner, shift your weight towards the outside of the bike and place your outside foot down. This helps to lower your center of gravity and provides better traction.
- Inside Knee Out:
To further enhance stability, extend your inside knee out towards the direction of the turn. This helps to counterbalance the bike and maintain better control.
- Weight Distribution in Turns:
Distribute your weight to the outside pedal while cornering to increase traction and stability.
- Bend Your Elbows:
Keep your elbows slightly bent to absorb any bumps or vibrations. This allows for better maneuverability and control while cornering.
Balance
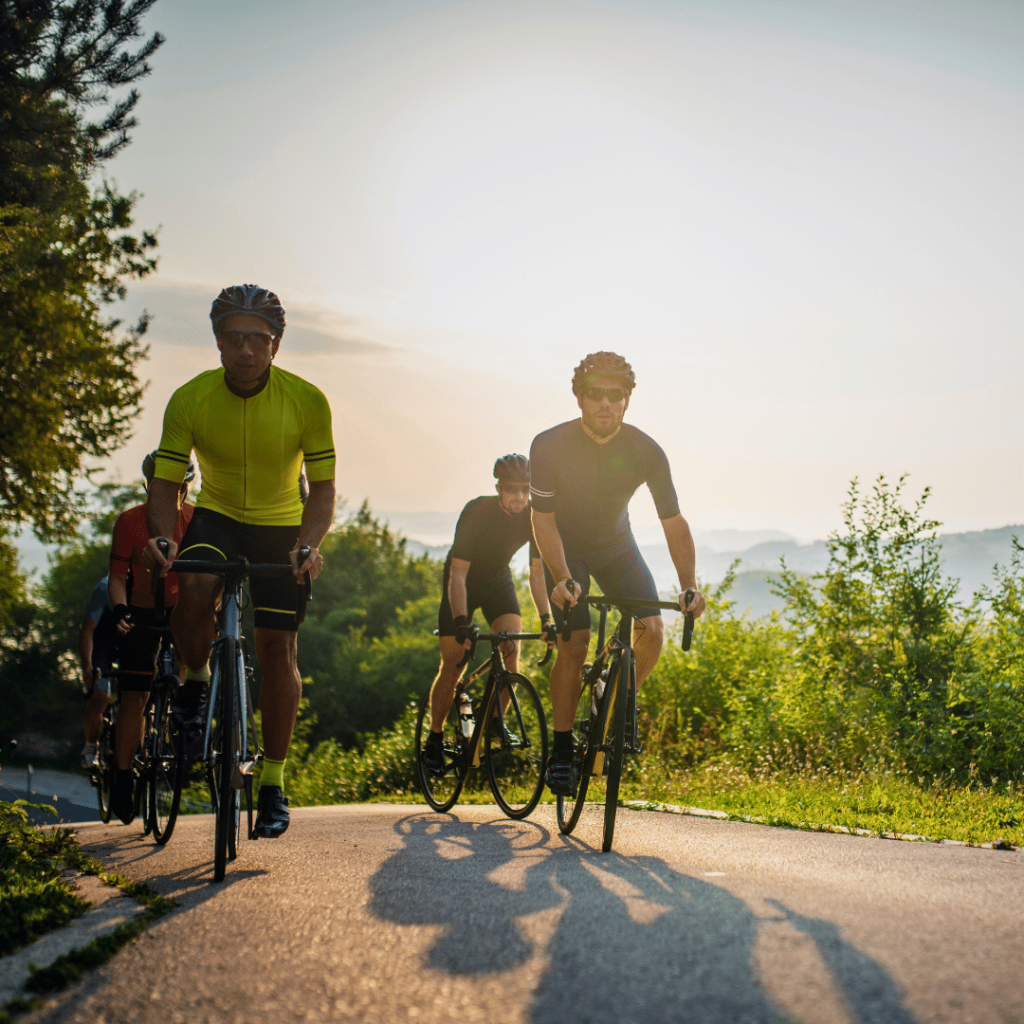
Achieving balance while riding refers to centering your weight over the bike. You must maintain equilibrium between the saddle, handlebars, and pedals.
Avoiding excessive leaning forward or backward also ensures stability and control, allowing for swift maneuvering and effective response to changes in terrain or riding conditions. For instance, if you’re going downhill and suddenly encounter a sharp turn or obstacle, having that stable position allows you to maneuver swiftly and respond effectively.
Mastering these core elements of body positioning enhances your riding efficiency and minimizes the risk of fatigue and discomfort during different scenarios such as climbing, descending, and cornering.
6. Listen to Your Body
Listening to your body while cycling is essential for maintaining comfort, preventing injuries, and optimizing your riding experience.
You must pay attention to any changes in comfort, muscle fatigue, or pressure points during your rides. This helps you identify what works best for your body. Here’s what you can look out for:
Comfort:
You must ensure correct saddle height, comfortable handlebar reach, and cleat position for a more comfortable riding posture that suits your body and riding style. Also, experiment with different hand positions available, such as the tops, hoods, and drops, to distribute pressure and reduce strain on your hands and wrists.
Varying hand positions on the handlebars can help alleviate discomfort and prevent numbness.
Additionally, if you’re using clipless pedals, ensuring proper cleat position can improve comfort and efficiency, as discussed in the second section (finding the right fit). Ensure the cleats align with the natural angle of your feet and provide a stable and balanced platform for pedaling.
Muscle Fatigue:
Making small adjustments to your body position can help distribute the workload across different muscle groups. When you make these adjustments, you can engage various muscles more efficiently, reducing fatigue and enhancing overall performance.
For example, shifting your weight slightly forward while climbing can engage your quadriceps more, while sitting back and relaxing your upper body during descents can allow your hamstrings and glutes to take on more of the workload.
This can prevent excessive fatigue in specific muscles and allow for more efficient pedaling.
Pressure Points:
By experimenting with your body position, you can alleviate pressure points that may develop on your hands, wrists, or seat area. Finding the right balance and adjusting can help reduce discomfort and improve the riding experience.
You must experiment with different hand positions on the handlebars to alleviate pressure points. You can place your hands on the hoods, tops, or drops and switch between them during your ride to distribute the pressure and prevent discomfort in specific areas.
Remember to keep your back straight, shoulders relaxed, and core engaged. Avoid excessive leaning or slouching, as it can lead to discomfort and strain. Maintaining a neutral spine position can distribute your weight evenly and reduce pressure points.
And lastly, invest in quality cycling shorts with proper padding to provide cushioning and reduce friction. Additionally, wear moisture-wicking and properly fitting clothing to prevent chafing and discomfort.
On the other hand, listening to your body also means taking breaks when necessary and pacing yourself correctly. There are a few key elements that you should keep in mind when it comes to this. Refer to this handy guideline provided below:
Alleviating Discomfort:
During longer rides, take periodic breaks every 15-20 miles to stretch, hydrate, and relieve discomfort. These breaks help prevent overexertion and reduce strain or fatigue risk.
Pacing Yourself:
Pace your rides according to your fitness level and comfort. Pushing too hard without adequate breaks can lead to fatigue and discomfort, affecting overall enjoyment and performance.
Monitoring your heart rate or using perceived exertion can also help gauge your effort level. Aim for a pace to maintain a conversation without feeling excessively winded. Also, set realistic goals based on your fitness level and gradually work towards them. This will help you stay motivated and avoid pushing yourself too hard.
Let’s say you aim for moderate effort during your rides. You can start by setting a steady pace that allows you to maintain a conversation without feeling too breathless. This pace should challenge you but still feel sustainable.
As you build your fitness and endurance, you can gradually increase the duration and intensity of your FTP (Functional Threshold Power) intervals to challenge yourself and see progress in your cycling performance.
By experimenting with your body position and taking breaks when necessary, you better understand your body’s needs during cycling. This self-awareness enables you to fine-tune your riding setup and pacing, ensuring a more comfortable, efficient, and enjoyable time on the bike while minimizing the risk of strain or injury.
7. Practice, Practice, Practice
Perfecting your body positioning on a road bike is a continual process that thrives on practice and gradual progression. Here’s how practice contributes to refining your riding posture:
Skill development through practice is very important in body positioning as it is an evolving skill. As you more time on the bike, you’ll become more aware of your body and how it interacts with the bike. You’ll learn to make subtle adjustments to your body position to optimize comfort, power output, and efficiency.
You must start by focusing on shorter rides, gradually allowing yourself to adapt and refine your posture. Starting with shorter rides allows you to focus on your posture without feeling overwhelmed or fatigued. During these rides, pay close attention to your body position, ensuring your back is straight, shoulders are relaxed, and core is engaged.
Then, gradually increase ride lengths as you gain confidence in your body’s positioning on the bike.
For example, you can begin with shorter rides of around 10-15 kilometers (6-9 miles) at a comfortable pace. As you feel more comfortable and confident, you can gradually increase the distance to 20-30 kilometers (12-18 miles) or more.
On the other hand, consistency matters too. Regular practice builds muscle memory, allowing your body to become accustomed to the nuances of proper positioning, leading to increased comfort and efficiency.
Generally, it’s recommended to incorporate regular rides into your routine, aiming for at least 2-3 times a week. Consistency is important for your body to adapt and develop the necessary muscle memory.
You’ll build the foundations of good body positioning by consistently practicing and gradually increasing ride distances. Over time, this practice enhances your comfort and efficiency and instills confidence and control, allowing you to enjoy longer rides with ease.
8. Seek Guidance
Seeking guidance from experienced cyclists or trainers is valuable as it helps us gain new perspectives, insights, and knowledge on different body positions. Riding alongside others allows you to witness different approaches to body positioning in various riding conditions, aiding in your learning process.
Here are a few examples:
Group Rides:
Joining group rides allows you to observe how other cyclists position themselves on the bike. You can see how they handle different terrains and corners and even how they tackle hills. It also exposes you to diverse riding styles and techniques.
Pay attention to their body posture, hand placement, and pedal stroke. Learning from experienced riders and picking up valuable tips is a great opportunity.
Cycling Events:
Participating in cycling events, such as charity rides or local races, allows you to ride alongside a diverse group of cyclists. You can observe the riding styles of different participants, from casual riders to more competitive cyclists. Take note of how they handle themselves in different situations and adapt their body positioning accordingly.
Cycling Clubs:
Joining a cycling club or team provides a supportive and educational environment. Riding with club members allows you to learn from their experiences and receive feedback on your own body positioning. You can also discuss techniques, equipment, and training methods, further enhancing your learning process.
On the other hand, feedback and mentorship from seasoned cyclists or professional trainers also provide personalized guidance. They can assess your riding body position technique and offer tips to improve your body positioning, and give you constructive criticism. Engaging with knowledgeable individuals also creates an iterative learning process.
Lastly, connecting with fellow cyclists fosters a supportive environment. Sharing experiences and learning from each other’s successes and challenges can accelerate your progress in mastering proper body positioning.
It’s about immersing yourself in a community with a passion for cycling. Leveraging their expertise and experiences contributes significantly to refining your body positioning and advancing your overall skills as a cyclist.
Conclusion
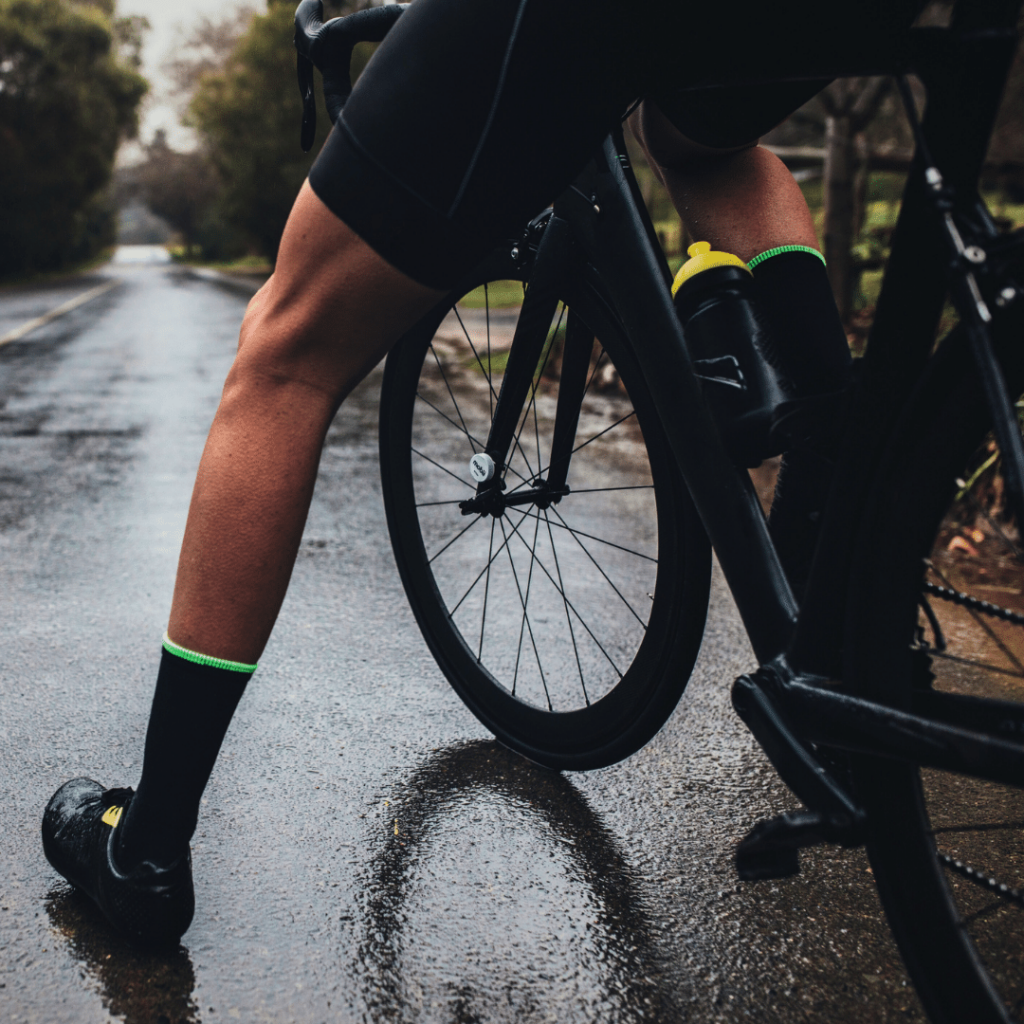
Cycling blends science and intuition in seeking optimal body positioning on a road bike. It’s about tuning into your body’s cues, experimenting with adjustments, and seeking guidance. From understanding bike geometry to perfecting pedal strokes, every element contributes to the symphony of comfort and efficiency on the road.
Remember, your body holds the key to the perfect fit. Embrace the iterative process of trial and adjustment, finding what feels right for you.
Happy cycling!
Frequently Asked Questions
1. What common mistakes in cycling posture should I avoid?
Common mistakes in cycling posture include having a rounded back, locking your elbows, and gripping the handlebars too tightly. These mistakes can lead to discomfort, reduced efficiency, and increased risk of injury.
2. How do I maintain my road bike position during long rides?
When tackling lengthy rides on your road bike, prioritize core engagement and posture to sustain your position. Regularly shift hand and body positions to alleviate muscle strain and discomfort. Remember to hydrate, fuel your body, and take breaks to aid recovery and keep your ride smooth and comfortable.
3. When should I consider getting a professional bike fit for my road bike?
You should consider getting a professional bike fit for your road bike if you experience discomfort. At the same time, riders who are unsure about their position or want to optimize their performance and riding experience can go for a professional bike fit.
4. How frequently should I have my bike fit checked?
The frequency of bike fit checks depends on changes in your body, riding style, and equipment. Consider reassessing annually or when experiencing discomfort, significant body changes, or introducing new gear.
5. Is bike handling easier on road bikes or mountain bikes?
In terms of bike handling, both road bikes and mountain bikes have their own unique challenges and skill requirements. Road bikes are designed for speed and efficiency on paved roads, so they have a more responsive and nimble handling feel. They excel in cornering and maintaining stability at high speeds.
On the other hand, mountain bikes are built for off-road adventures and rough terrains. They have wider tires, suspension systems, and different geometry, which provide better control and stability on uneven surfaces. Mountain bikes require more technical skills, such as navigating obstacles, steep descents, and tight switchbacks.

