
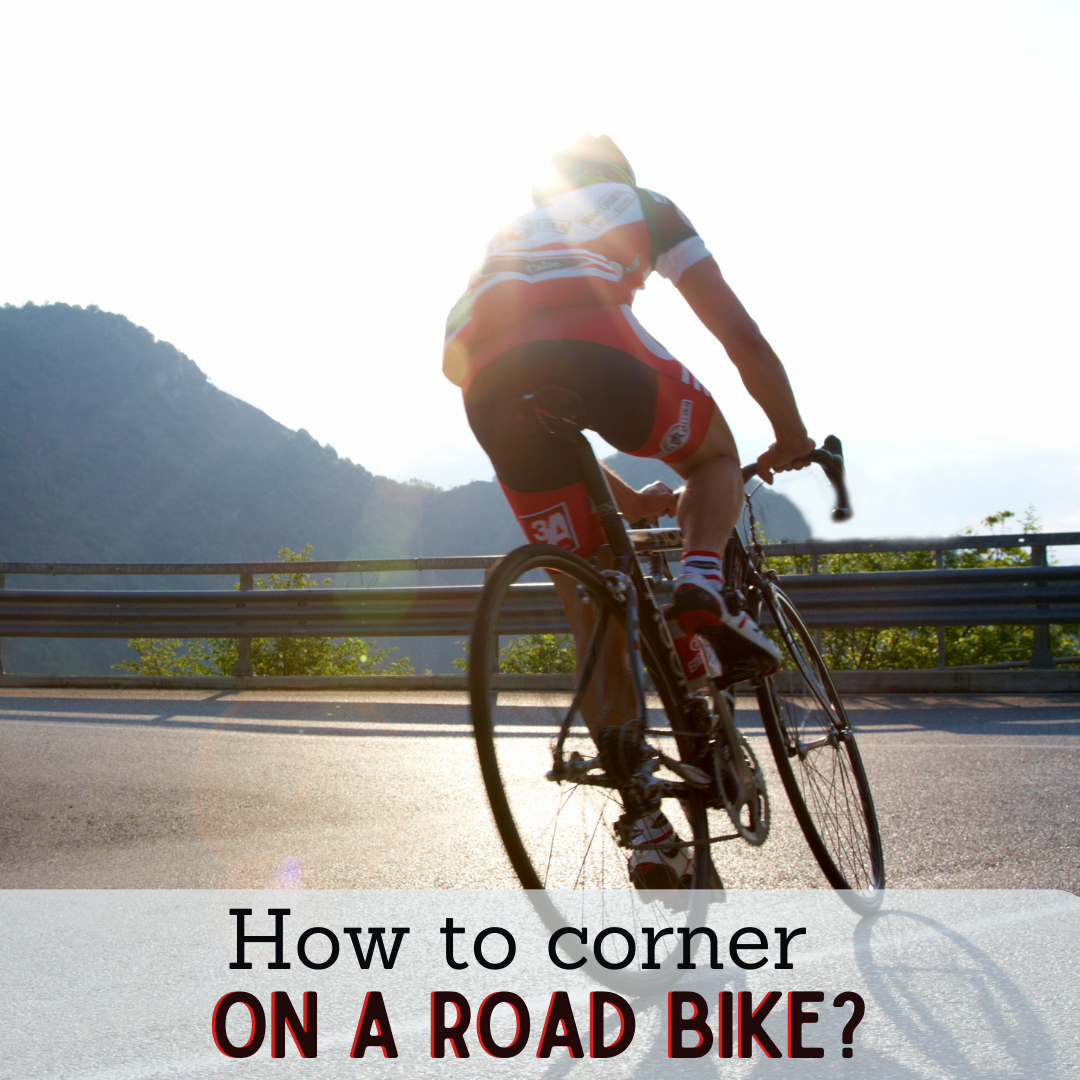
Cornering on a road bike is all about technique and control. The correct approach is to lean your body and bike into the corner while keeping your outside pedal down to maintain control.
In this article, I will discuss all things cornering! I have some handy tips for making cornering on a road bike like a thrilling adventure. Let’s unlock the step-by-step tutorial, the three Es of cornering, 11 advanced tips, what not to do while cornering, and proper practices and techniques that one must follow.
Step-By-Step Tutorial to corner on a road bike
11 Advanced Tips to Corner on a Road Bike
What NOT to Do While Cornering
Practise Makes Perfect!
Step-By-Step Tutorial on how to corner on a road bike
Proper technique while cornering is essential to maintaining control and safety. It also allows you to maintain traction and grip on the road, reducing the risk of skidding.
1. Scan your surroundings
Look around and observe your surroundings to determine what type of terrain you are riding on. Is it hilly? Is it flat? Is it a rough road? Or is it all of these at once?
To assess the corner, observe the following:
- How tight the corner is.
- If you can see around the road.
- If there are any drain covers.
- The width of the road.
Once you scan your surroundings, use the assessments to make informed decisions about your line, speed through the corner, etc.
2. Look ahead
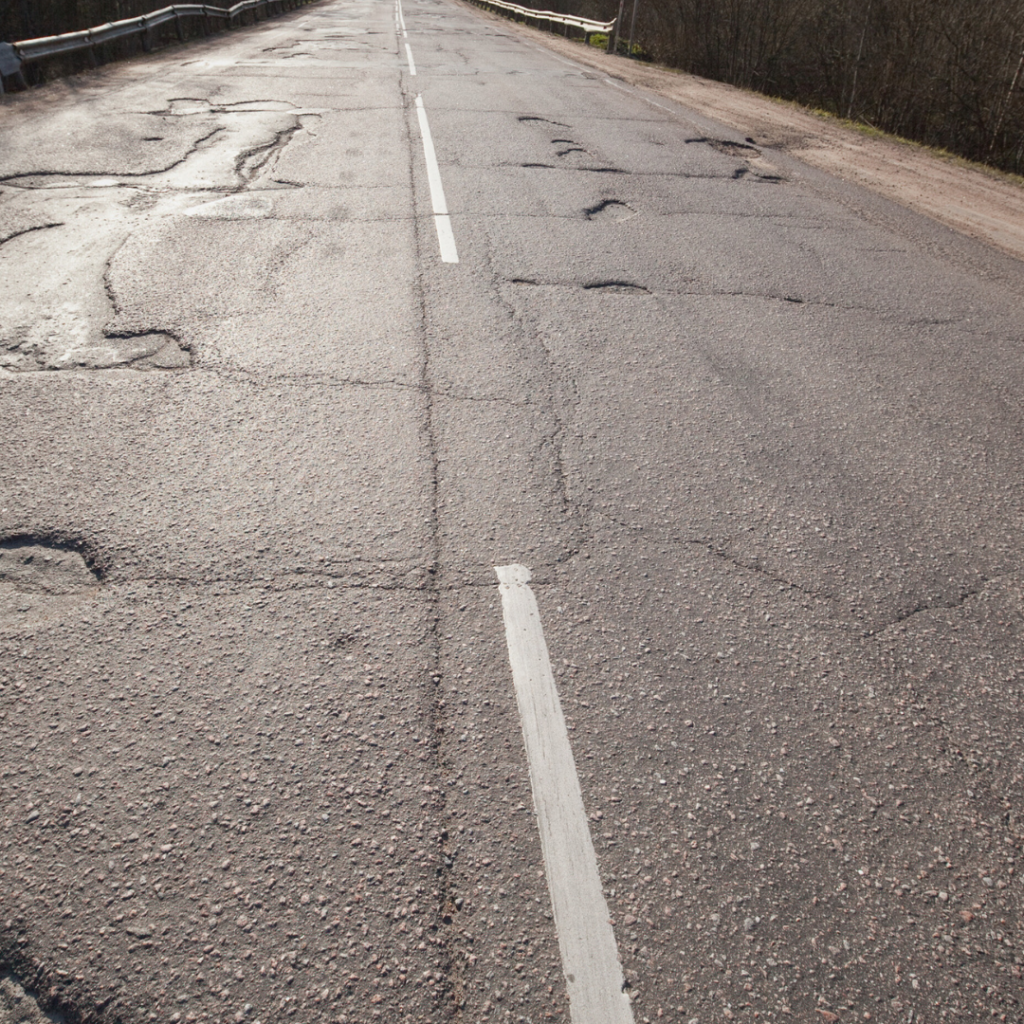
Before entering the corner, keep looking ahead and focus on the exit rather than directly in front of your bike to anticipate obstacles or changes in the road surfaces, like bumps, potholes, gravel, etc. Look to the entry and apex of the turn when you are 10-20m/33-66ft from the corner.
It’s to ensure you have enough time to decide on the line you’ll take, the appropriate speed to maintain, and the gear you’ll need to change.
3. Reduce your speed before approaching the corner

Reduce your speed by applying gentle pressure to the brakes while also stopping pedaling or easing off the pedals. Avoid sudden or hard braking while turning to avoid losing traction, which could lead to accidents.
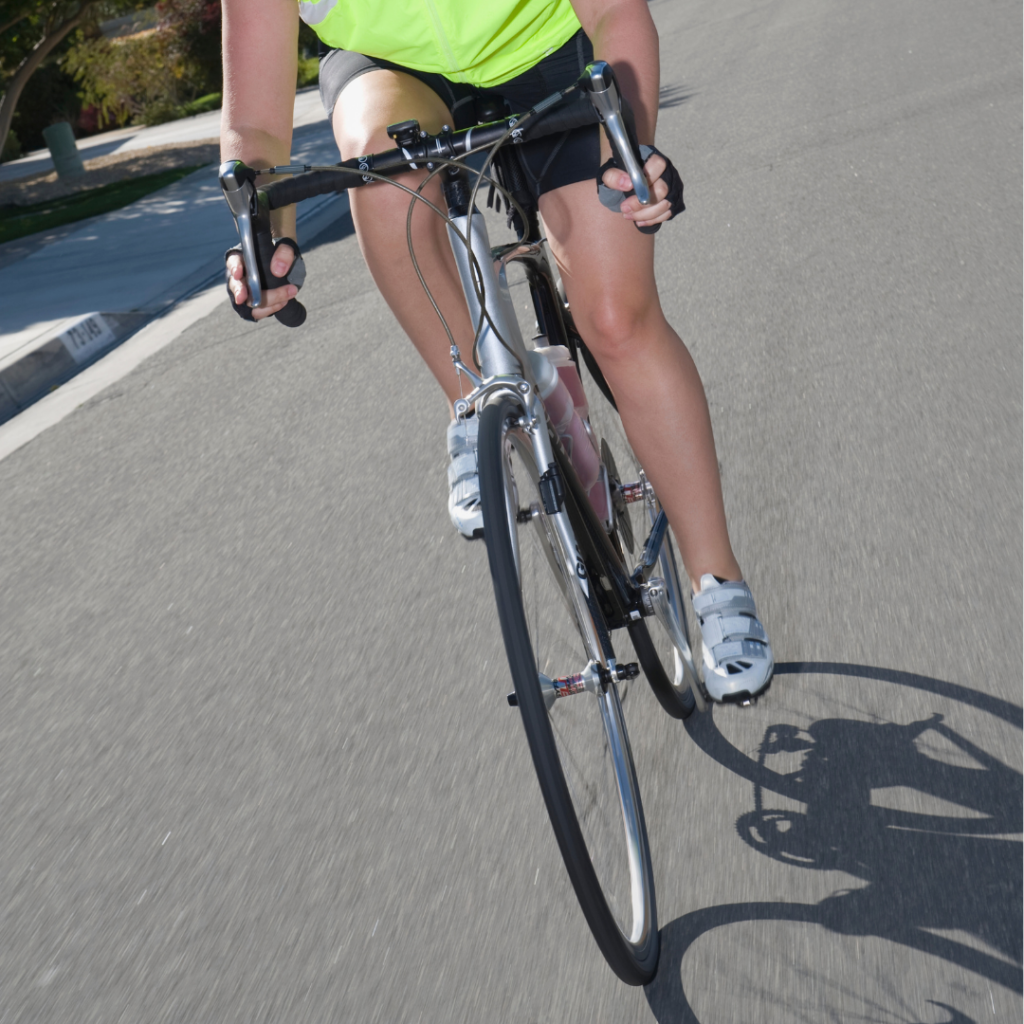
4. Position yourself
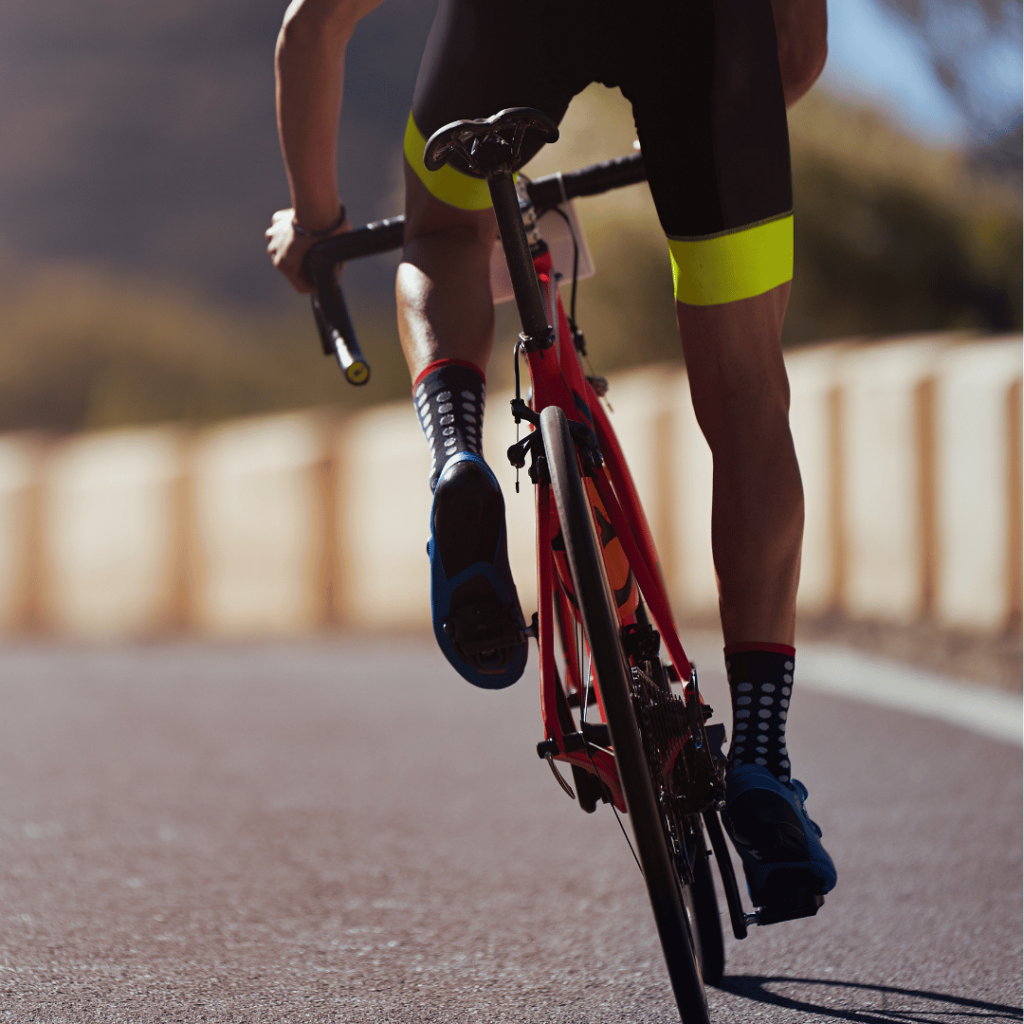
Hold the handlebars in the drops of your road bike to put pressure on the front wheel, providing better traction and control. Also, remember to flatten out your back and forearms, as this reduces your center of mass and gives you better stability.
However, if you’re in the aero position, a common position used by cyclists, especially during time trials or when trying to maximize aerodynamics, sit up and hold the drops.
Then, lean your hips and upper body towards the outside of the saddle and lean your bike into the corner. Keep your inside knee slightly bent and extend your outside leg to keep it straight compared to your inside leg. It’s not about fully straightening your outside leg but avoiding excessive bending.
5. Choose your line
The optimal line is the path that offers the smoothest and safest route around a corner. When choosing the right line for a corner, slow down your speed and consider the turn radius and potential obstacles, along with road conditions (slippery, gravel, sand, uneven).
With practice and experience, you’ll develop a better sense of which line works best for different types of corners.
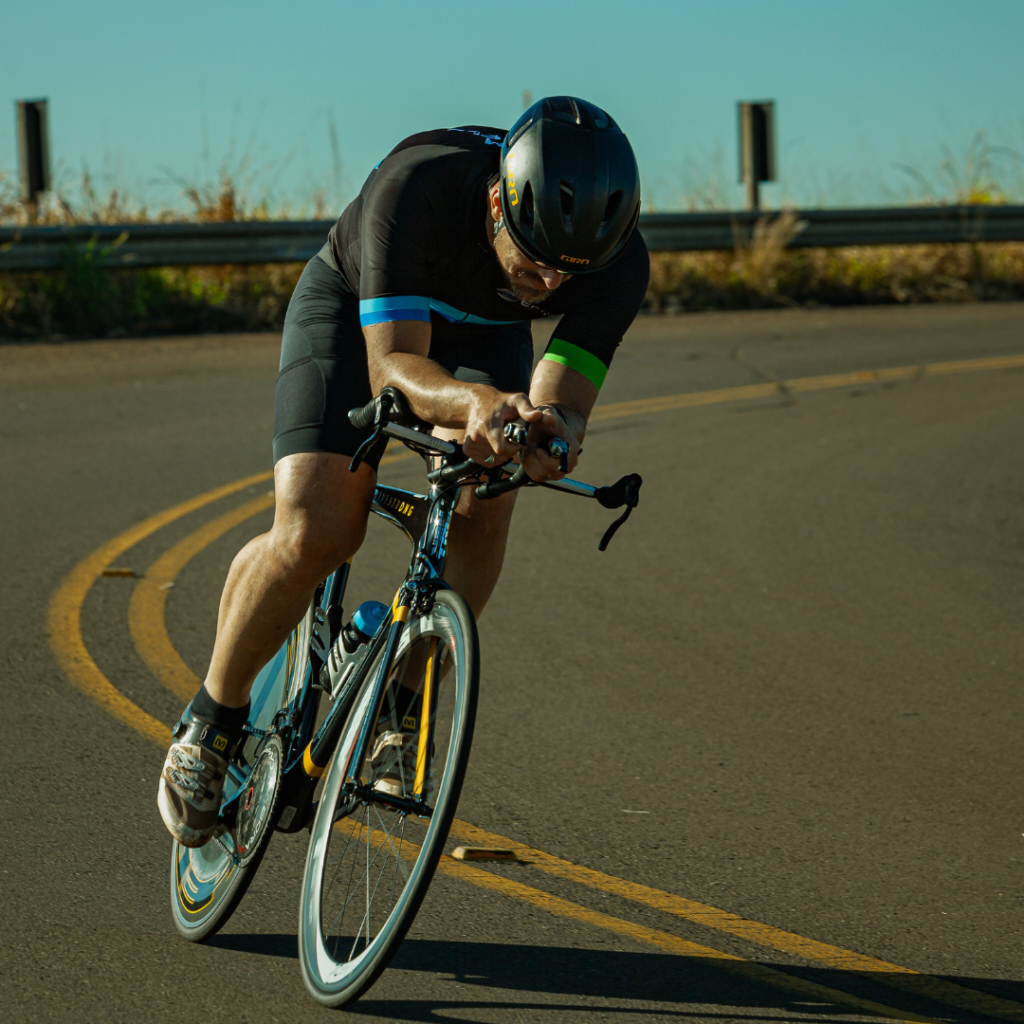
6. Lean into the corner
Shift your body weight towards the inside of the turn and lean your bike along with your body.
The leaning position moves your center of gravity closer to the inside of the turn, making it easier to maintain control as you effectively counteract the centrifugal force that pushes you outward, helping you stay upright as you navigate the curves.
Then, stop pedaling as you approach the turn to maintain balance as you lean in. Place your outside pedal at the six o’clock position and push your weight through it to give the tires more traction. Also, keep your inner pedal from hitting the pavement as you lean into the corner.
7. Maintain consistent cadence and pedal smoothly
Start by finding a rhythm that feels comfortable for you. 80-90 RPM is a recommended cadence, giving you a smooth and comfortable pedaling motion. You must aim to keep it within that range.
If your cadence drops too low, shift to an easier gear, like the 3rd or 4th gear, and if it gets too high, change to a higher gear, like the 10th or 11th gear.
8. Wide, apex, wide
This approach is to start wide, then cut in at the apex, and go wide again on the exit. This technique extends the corner, giving you more room to maneuver, and helps you carry momentum.
To make it simpler:
Wide
Start by positioning yourself on the outside of the corner, taking a wider line.
Apex
As you approach the corner, gradually steer towards the inside, aiming for the apex (the point where the corner is tightest).
Wide
After reaching the apex, smoothly steer back towards the outside, retaking a wider line.
Remember that the apex of a corner is sometimes in the center, while in some cases, it could be towards the inside or outside of the corner.
It depends on factors like the corner’s tightness and road slope, as a tighter corner may require a wider line with the apex towards the outside, while a less tight corner may have the apex towards the inside.
To locate the apex, assess the road and anticipate the optimal spot on the road to make your turn. Look for visual cues like the road’s curvature (the direction and severity of the turn), road markings (arrows indicating the direction of the turn), or objects on the roadside (cones or barriers).
Then, aim to position yourself on the inside of the turn, closer to the apex, which is the point where you’ll meet the tightest part of the turn to reduce the distance you need to travel.
9. Control your speed
Use your brakes lightly or modulate by releasing them gradually to control your speed.
Then, ride with enough speed into the corner to power out of the turn and maintain momentum. When you’re already in the corner, your bike’s speed and the centrifugal force make it more challenging to slow down. And it’s easier to accelerate out of a corner than to slow down mid-turn.
10. Time to exit the corner
Exit is the final part of the corner, where you transition out of the turn and continue on your path.
Take a wide line out of the corner while remaining safely within your lane on the road, as your bike will naturally want to straighten up after the intersection. By taking the wider line, you give yourself more space to smoothly transition back to a straight path and bring your bike back to an upright position.
Then, maintain a steady line through the turn and gradually increase your pedaling power as you straighten the bike. Shift your gears to a lower gear, like the 3rd or 4th, to gain power to help you accelerate by taking advantage of the bike’s forward motion. And finally, accelerate out of the corner.
11 Advanced Tips to Corner on a Road Bike
Now that you know the steps to corner on a road bike, it’s time to take your cornering skills to the next level as we dive deeper into the advanced tips.
So, let’s dive right in!
1. Choose The Correct Line!
The right line is the smoothest and widest part of the road, with fewer bumps and debris.
Choosing the correct line maintains traction and controls your speed by utilizing the available grip on the road surface. The correct line optimizes the weight distribution on your bike and maximizes the contact patch between your tires and the road, improving traction.
Here are a few helpful tips to keep in mind when making the right choice of line:
- Stay in your respective lane and avoid crossing the center line, as we don’t want to risk a head-on collision with vehicles coming from the opposite side of the road.
- If riding in a group, maintain your position and avoid encroaching into another rider’s space. You must respect the personal space of your fellow riders.
- While navigating tight switchbacks, adjust your line by steering your handlebar slightly wider or closer to the inside of the turn in case of any obstacles to maneuver through the corner safely.
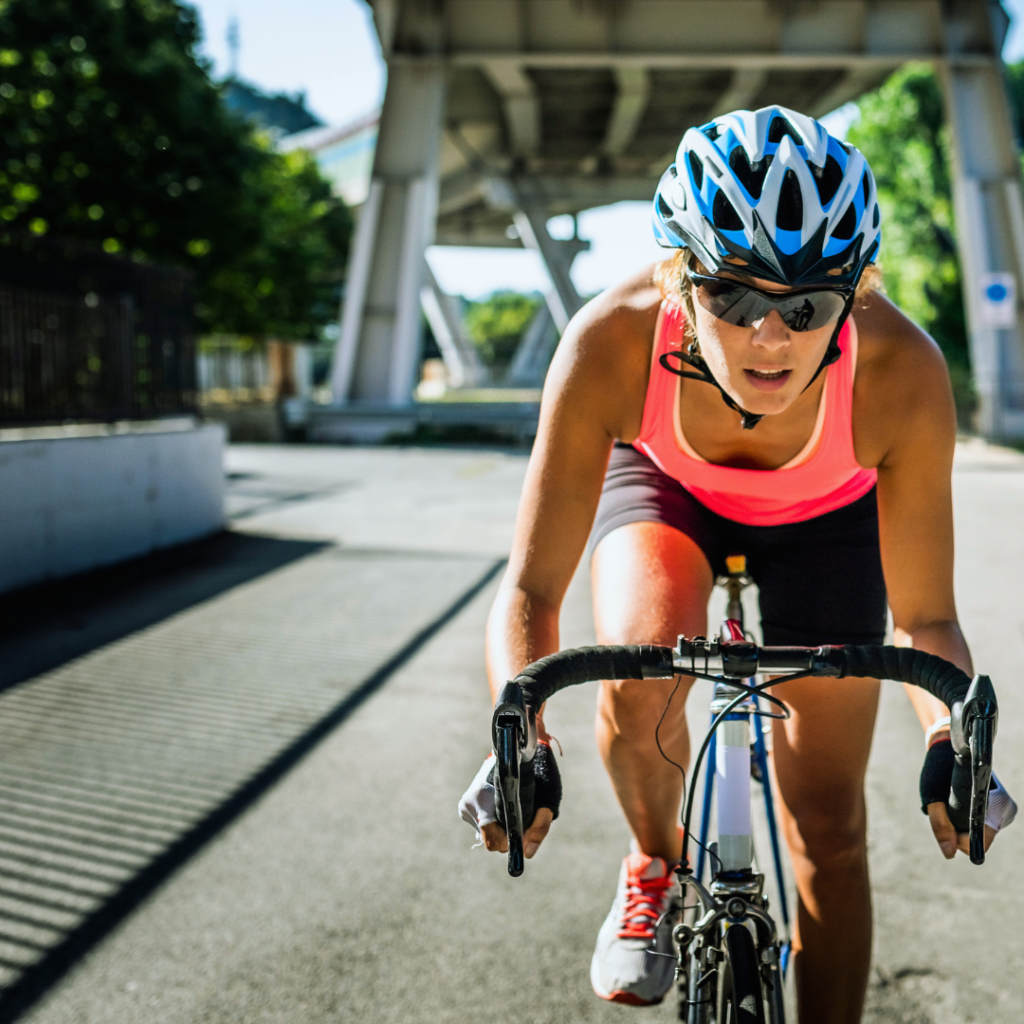
2. Body Position
Body positioning is one of the most crucial aspects of effective cornering. A rider will need the proper body position through a corner to retain traction and hold a line.
Following are some vital body position considerations to remember as you navigate each corner:
- Ride from the drops and apply pressure to the front wheel to increase your bike’s traction and control. This position is also aerodynamic, lowering your center of gravity and increasing your speed because of reduced wind resistance.
Keep your hands firmly on the lower part of the handlebars to engage different muscle groups, like your core and upper body, such as arms, chest, and shoulders, providing extra power.
- Tilt the bike while keeping your body balanced by straightening the outer leg and pressing down on the outside pedal as you tilt the bike into a corner. The outside leg is powerful due to the increased leverage. It will harness the necessary energy as it is positioned further away from the bike’s center, allowing it to exert more force.
Simultaneously, apply pressure on the handlebars with your inside hand to produce a counterbalance, helping to keep your tires firmly planted on the road.
3. Read the Corner
Reading the corner is the process of analyzing and understanding the characteristics of the turn, such as the shape of the corner (hairpin turn, sweeping turn, and tight bend), road conditions (dry, wet, gravel, uneven), visibility, and any potential hazards before you approach it.
Follow these guidelines on reading the corner:
- When riding down a winding road with many twists and curves, look at least 25 meters ahead to anticipate the corner. It allows you to assess the shape, curvature, and potential hazards ahead, giving you more time to make your next move, like adjusting your speed and positioning.
- Start braking before entering the corner and ease off the brake lever or pedal pressure slowly as you navigate through the turn.
Adjust your braking technique accordingly in different corners to ensure control of the bike. For example, in a sharp corner, where you can’t see where the road ends, brake earlier and more gently to prevent skidding. And in a wide, sweeping corner, brake later and with more force to control your speed.
4. How to Brake and Speed While Cornering
Braking properly before the turn provides stability and helps control your speed while accelerating through the corner.
Here are a few things to remember when braking and speeding:
- When approaching a corner, gradually apply the brakes using both hands rather than abruptly slamming into them. Smoothly braking prevents sudden weight shifts, maintains bike control, and gives your tires better traction.
- Then, gradually release the brakes and firmly grip the handlebars when going through a turn. It is crucial to choose the right line so you can release the brakes and speed up smoothly.
- Shift to a lower gear, like the 2nd or 3rd, that requires less effort to pedal, allowing you to maintain a comfortable cadence of around 80-90 revolutions per minute (RPM).
However, experiment with different gear combinations and ratios, such as 53/17 (Big chainring 53T + middle cog 17T), for which the gear ratio will be 3.12 (for every full rotation of the pedals, the rear wheel will rotate approximately 3.12 times).
Or 34/28 (Small chainring 34T + larger cog 28T), for which the gear ratio will be 1.2 (for every full rotation of the pedals, the rear wheel will rotate approximately 1.21 times)
- Gradually increase the pressure on your pedals while maintaining a steady cadence to accelerate out. Focus on applying power evenly throughout the pedal stroke, engaging your quads and glutes to generate a consistent acceleration.
5. Different Approaches for Different Corners
You will encounter various types of corners while cycling, and each shape requires different approaches and techniques to navigate effectively. Some common shapes are hairpin turns, which are sharp and almost U-shaped, and sweeping turns, which have a gradual curve. And tight bends, which are sharp turns with a smaller radius.
Here’s how you should approach the different shapes of corners:
Hairpin Turns:
These sharp, U-shaped turns require you to approach them cautiously as the tightness of the turn makes it challenging to navigate.
Slow down before entering the corner by easing off the pedals and gently pulling the brakes. Then, shift your weight to the outside pedal and lean your bike into the turn while keeping your inside knee up. And finally, look through the corner to spot the exit.
As for the line, choose the inside turn, which means hugging the inner edge of the turn.
Sweeping Turns:
These gradual, curved turns allow for smoother navigation because they have a larger radius of the corner compared to sharper turns.
Choose a wider line and shift your body weight, leaning your bike into the turn. Keep your inside pedal up and your outside pedal down to maintain control. Then, gradually straighten your bike and increase speed to regain momentum and exit smoothly.
Tight Bends:
These corners require sharper steering and rapid adjustments to your body position for balance because of their sharpness and tight radius.
Gradually apply the brakes before entering the curve, bend your elbows and lower your upper body closer, shift your weight to the outside pedal, and lean your bike into the turn. Then, keep your inside knee up and maintain a firm grip on the handlebars. Gradually accelerate as you exit the bend to regain momentum.
As for the line, choose the inside line, which means sticking closer to the inner edge of the corner when navigating tight bends, as you maintain better control of your bike.
Remember that these are just general guidelines and what works best for me. The specific approach may vary based on factors like the road condition and your skill level.
6. Different Approaches for Various Road Conditions
Just like the shape of the corner when navigating a turn plays a huge role when determining the approach, so do the different road conditions.
Let’s dive into the different approaches for different road conditions.
Dry Roads:
Lean the bike at an angle of around 20-45 degrees while keeping your body slightly upright to maximize traction.
On dry roads, it’s recommended to choose the line that provides the most traction and allows for smooth and controlled riding. This can vary depending on the specific road conditions, but generally, riding in the middle or slightly to the outside of the lane is recommended because of better visibility and maneuverability.
For example, if there are potholes or debris on the sides of the road, it’s better to ride in the middle to avoid them. On the other hand, if the road is clear and you want to maximize visibility and maneuverability, riding slightly to the outside of the lane can be a good choice.
Wet Roads:
Lean the bike at a conservative angle of 10-15 degrees to reduce the risk of losing traction. Then, keep a relaxed grip on the handlebars and maintain a smooth and steady throttle control to navigate the corners safely.
As for the line, choose a line closer to the center of the road. The center tends to have a smoother and less slippery surface compared to the edges, where water can accumulate. Ride in the smoothest and cleanest part of the lane, away from the puddles, to avoid mishaps.
Gravel or Loose Surfaces:
Lean the bike at around 5-10 degrees, slightly less than on wet and dry roads, to avoid losing traction. Then, maintain an upright position and use gradual braking to reduce your speed.
Like wet roads, pick a line closer to the center of the road to get more space to maneuver and adjust your position, as the surfaces can get bumpy. The center of the road tends to have a more compact and stable surface than the edges and helps you avoid areas with loose gravel or debris that cause your tires to lose traction.
Uneven or Bumpy Roads:
Be cautious and scan your surroundings to anticipate any upcoming bumps or obstacles. Avoid aggressive braking to avoid skidding—instead, gradually brake before the corner. As for the bike’s leaning, aim for a lean angle of around 5-10 degrees to maintain stability.
Choose smoother lines without severe bumps or potholes to avoid loss of traction, and keep a relaxed grip on the handlebars with smooth pedal strokes to absorb the impacts and vibrations of the bumps.
Uphill Corners:
Maintain a steady pace and gear down before the corner to ensure you have enough power to pedal through. Then, shift your body weight forward to maintain traction on the front wheel and aim for a lean angle of around 5-10 degrees.
Lastly, choose a wider line to give yourself more space on the road to maneuver your bike and maintain momentum.
Downhill corners:
Control your speed and use both brakes to distribute the braking force evenly and maintain a lower center of gravity for balance by bending your elbows and knees.
As a general guideline, aim for a lean angle of around 20-30 degrees for optimal weight distribution between the tires as the weight shifts towards the inside of the turn to get a good grip.
However, you must reduce your lean angle if the road is wet or slippery. Brake before the corner and release the brakes gradually as you enter the turn. As for the line, choose a tighter line, which is a path closer to the inside of the turn, to reduce the risk of going too wide and potentially losing control.
7. Dial in Speed
Dialing in speed means adjusting and fine-tuning your speed to find the optimal pace. It is about finding the right balance of pace that allows you to navigate the corner smoothly, like adjusting your speed by lowering it before entering the corner. Hence, you have enough control and traction to maintain your line.
Always aim for a steady pace that maintains traction while carrying enough speed to navigate the turn smoothly. For instance, let’s say you’re approaching a corner at 30 miles per hour; adjust your speed and reduce it to around 20 miles per hour.
It’s crucial to find the right balance when it comes to speed, as going too fast leads to traction loss and accidents, while excessively slowing down causes a loss of momentum and stability.
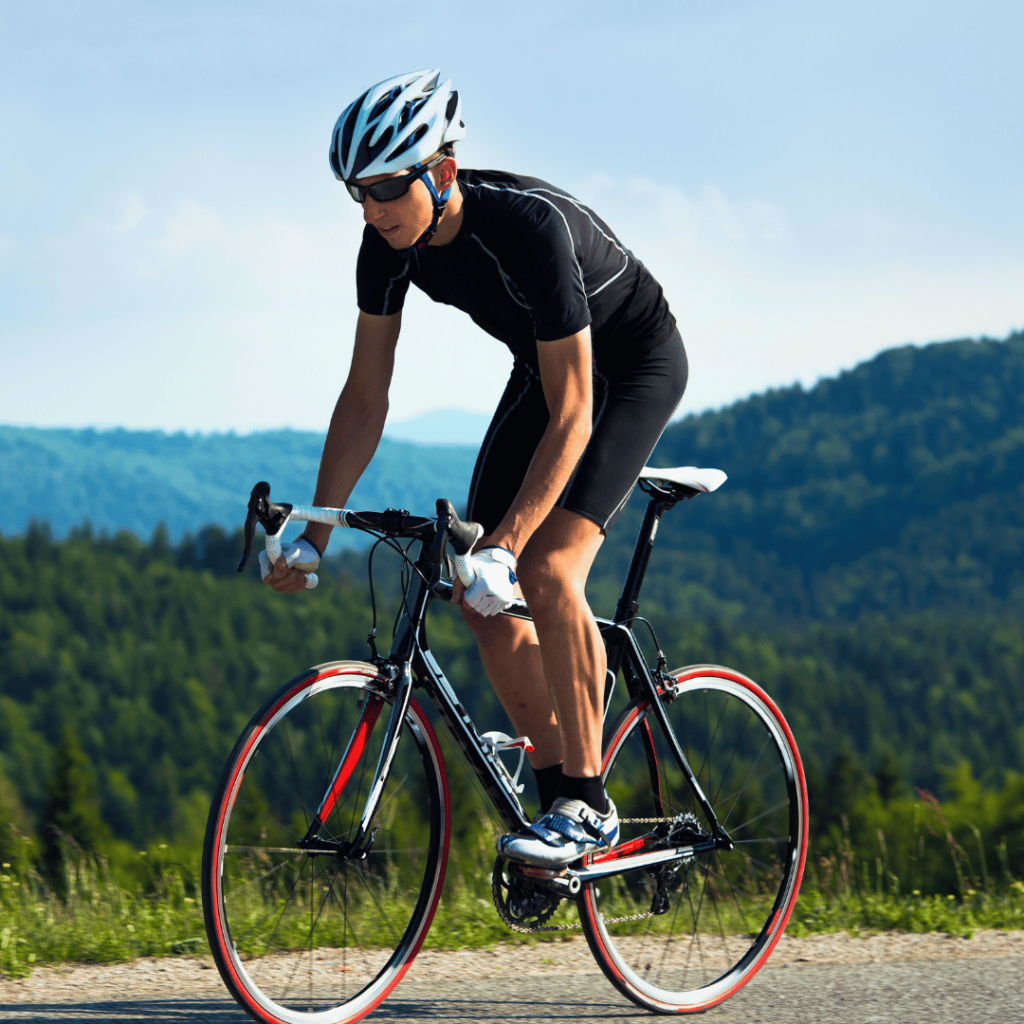
8. Get Low and Lean the Bike
When you accelerate while exiting the corner, get into a lower position and slightly lean your bike. This aerodynamic posture helps to reduce wind resistance, which improves your speed. It also lowers your center of gravity, which improves the tire’s traction and grip on the road.
Here is a handy summary of how to execute this like a pro!
- The speed at which you enter a corner determines how much you need to lean into it. The faster you go, the more you’ll have to tilt your bike to maintain balance because the centrifugal force generated by your speed pushes you outward.
- The angle at which you should lean your bike will vary depending on factors such as the radius of the corner and your comfort level. As a general guideline, at moderate speeds, tip your bike around 20-30 degrees into the corner, while at higher speeds, lean it closer to 45 degrees or more.
- When you reach the apex of the corner, which is the point where you take the tightest line and begin to gradually straighten out, lean your bike more than your body by applying pressure on your outside foot and inside hand. This technique creates a greater lean angle for the bike while keeping your body more upright and balanced.
9. Coast Less, Pedal More
Pedal before and after a corner instead of coasting to maintain speed. Keep a smoother line while pedaling through the corner via a consistent power output from the continuous pedal strokes.
However, coasting is also necessary in certain situations, like when you need to take a break, conserve energy, or navigate a tight turn or steep descents. It allows you to relax by giving you a break for actively pedaling and recovering while maintaining the bike’s control.
Keep practicing and find the right balance between coasting and pedaling to optimize your speed. The right balance can vary depending on the different situations and personal preferences.
As you approach a corner, you can start coasting by reducing your pedaling to around 30-40% of your maximum power output. Once you’ve entered the corner and found your line, you can gradually increase your pedaling to around 70-80% to maintain your speed and control.
10. Accelerate Out Of The Corner
To accelerate out of the corner successfully, manage your speed on the approach of the turn and utilize the bike’s power to exit out.
Here are a few things to keep in mind when accelerating out:
- When finishing the corner, if you’re not leaning too much after the middle of the turn, you should immediately start pedaling again. This allows you to regain speed and maintain momentum on your ride.
If you are leaning too much after the middle of the turn, gradually ease the lean by gently straightening your bike and shifting your body weight toward the center before accelerating. Only start pedaling again to regain speed and momentum once you’re in a stable position, which is a balanced and centered posture.
- If the corner’s exit is up the hill or you need to slow down significantly before entering the corner, shift to a few gears lower, like the 2nd or 3rd gear. This helps to accelerate faster and maintain momentum.
- If the corner’s exit is fast, flat, or downhill, stick with the same gear you entered the corner with, which could be anything from gears in the middle to a more extensive range, such as the 53-15 or 53-16. It maintains speed and lets you power through the exit without changing gears.
- Now, focus on smoothly transitioning from a lean position to an upright position. Gradually straighten your bike while maintaining control, and once your bike is upright, start applying power to the pedals to accelerate out the exit.
11. Look After Your Tires
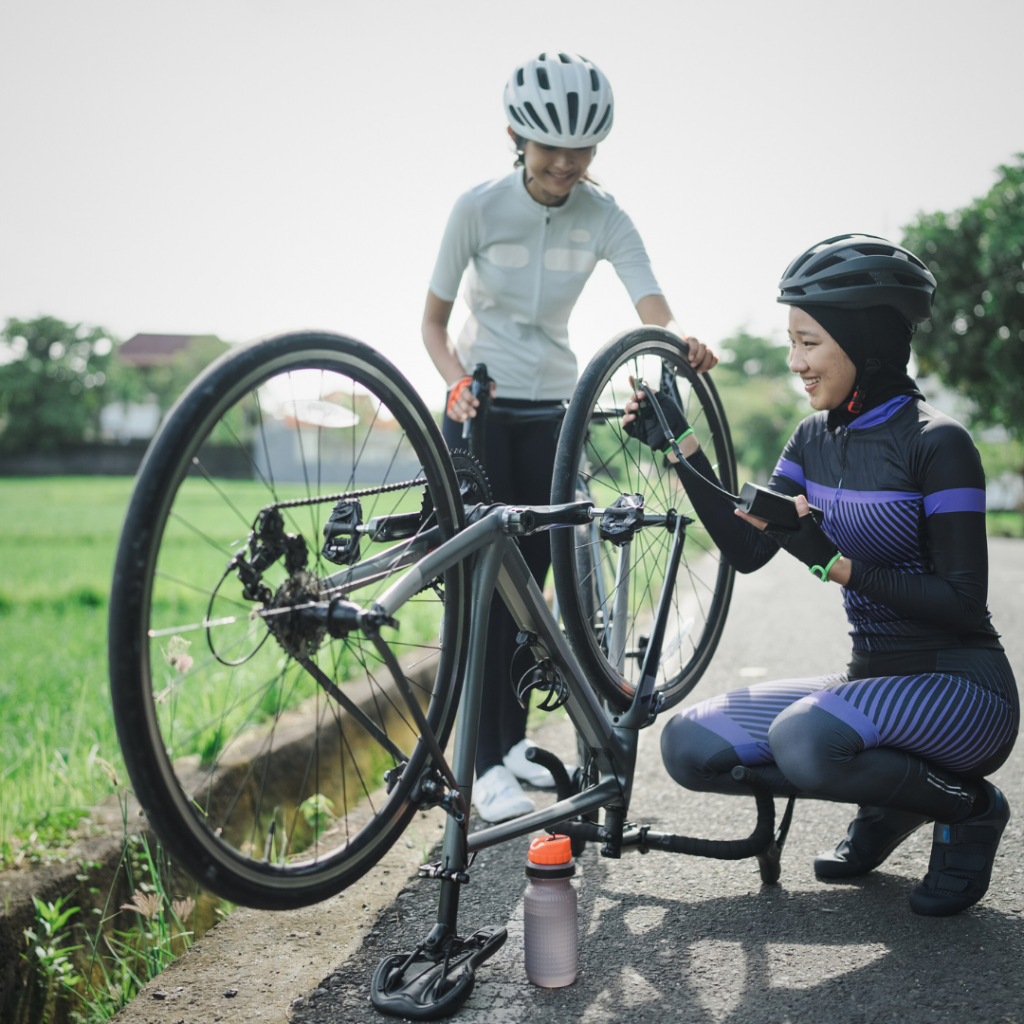
Regularly check the tire pressure and inflate them to the recommended level. Inspect the tires for any signs of wear, such as cracks or cuts, and replace them if needed.
Remember to clean the tires by wiping them down and removing debris. Avoid riding over sharp objects, and be mindful of rough surfaces that could damage the tires.
Here is a handy guideline to manage your tires and maintain their condition:
- Opt for tires with good grip and a suitable tread pattern for your riding conditions.
If you primarily ride on dry roads, tires with a smooth or slick tread pattern provide low rolling resistance and optimal performance. And if you encounter wet or slippery roads, opt for tires with good grip and a tread pattern to help channel the water away.
- Proper tire pressure affects how the tire contacts the road surface, so regularly check and maintain your tire pressure.
When the tire pressure is too low, the tire tends to have a larger contact patch with the road surface, which leads to increased rolling resistance, decreased efficiency, and a higher risk of pinch flats. And if the tire pressure is too high, the contact patch becomes smaller, reducing grip and making the ride less comfortable.
The proper tire pressure varies depending on weight, tire size, and riding conditions. As a general guideline, a recommended tire pressure range is typically between 80-130 psi (pounds per square inch). However, it’s essential to check the sidewall of your specific tire for the manufacturer’s recommended pressure.
What NOT to Do While Cornering:
Let’s explore cornering to the next level by delving into what NOT to do while navigating those twists and turns:
- Don’t brake abruptly while in the middle of a turn, as it causes a loss of traction, which leads to skidding and loss of control.
- Don’t fixate on obstacles or the edge of the road; instead, look ahead and focus on your line.
- Don’t make sudden steering inputs or jerk the handlebars, as it disrupts your balance.
- Don’t rush or take corners too fast without adequately assessing the road conditions.
- Don’t go into a corner with excessive speed, as it increases the chances of losing balance and could lead to accidents.
- Don’t push yourself beyond your abilities. It will lead to exhaustion and injury.
Practise Makes Perfect!
Practice makes perfect when it comes to cornering. The more you ride different corners, the better you’ll become at navigating through different shapes, choosing the correct lines, and adjusting your speed and position accordingly.
Before cornering on challenging turns, you can practice riding on a softer surface like grass to get the hang of leaning the bike. It’s a great way to practice your technique if you’re a beginner. Of course, once you feel confident, transition to practicing on the road.
However, If you prefer starting on the road, find an empty spot to practice, like a vacant parking lot. Here’s a handy guideline:
- Start by setting up a mini slalom course by placing water bottles or skill cones around the parking lot to stimulate real-life corners and road scenarios. A mini slalom is a small-scale course with cones to maneuver your bike and is a great way to practice your cornering skills.
- Place the cones and water bottles in a zigzag pattern around the parking lot, creating a series of turns.
- After that, practice navigating corners by linking turns from left to right with the help of the cones you set up to stimulate real-life scenarios.
- To make it more challenging, offset the cones or bottles to create sharper turns to recreate tight bends. Remember to start slowly and gradually increase your speed. As you improve, practice more difficult corners before hitting the road.
Remember to start slowly and to work your way up, as progress takes time gradually. Don’t expect overnight results or get discouraged, as setbacks are normal and part of the process.
Conclusion
When cornering on a road bike, it’s all about practice and mastering the proper technique.
By following the tips in this blog post, you can navigate corners easily and precisely.
With time and experience, you’ll become a skilled cornering cyclist, ready to conquer the road. So keep pedaling, stay determined, embrace the thrill, and enjoy the ride
Happy cycling!
Frequently Asked Questions
1. What should I do if I feel like I’m losing control while cornering?
If you feel like you’re losing control, stay calm and composed, take a deep breath, and gently feather your brakes to slow down instead of focusing on the loss of control. Try to slowly come to a stop and move to the side of the road for safety.
2. How can I improve my confidence when taking sharp corners?
Boost your confidence on sharp corners by practicing using proper techniques. Start slow, look ahead, lean into the corner, brake before the corner, and practice countersteering.
3. How does a lower center of gravity help in cornering?
Keeping your body low and centered over the bike lowers the overall center of gravity. A lower center of gravity helps in cornering by increasing your bike’s stability and reducing the chances of the bike tipping over.
4. What should I do if I feel like I’m going too fast while cornering on a road bike?
If you feel like you’re going too fast while cornering, lean into the corner and shift your weight towards the inside to increase the downward force on the tires, which improves grip and stability. If necessary, gently apply the brakes to control your speed.